The scanner.
Turn any phone with a camera into a door scanner.
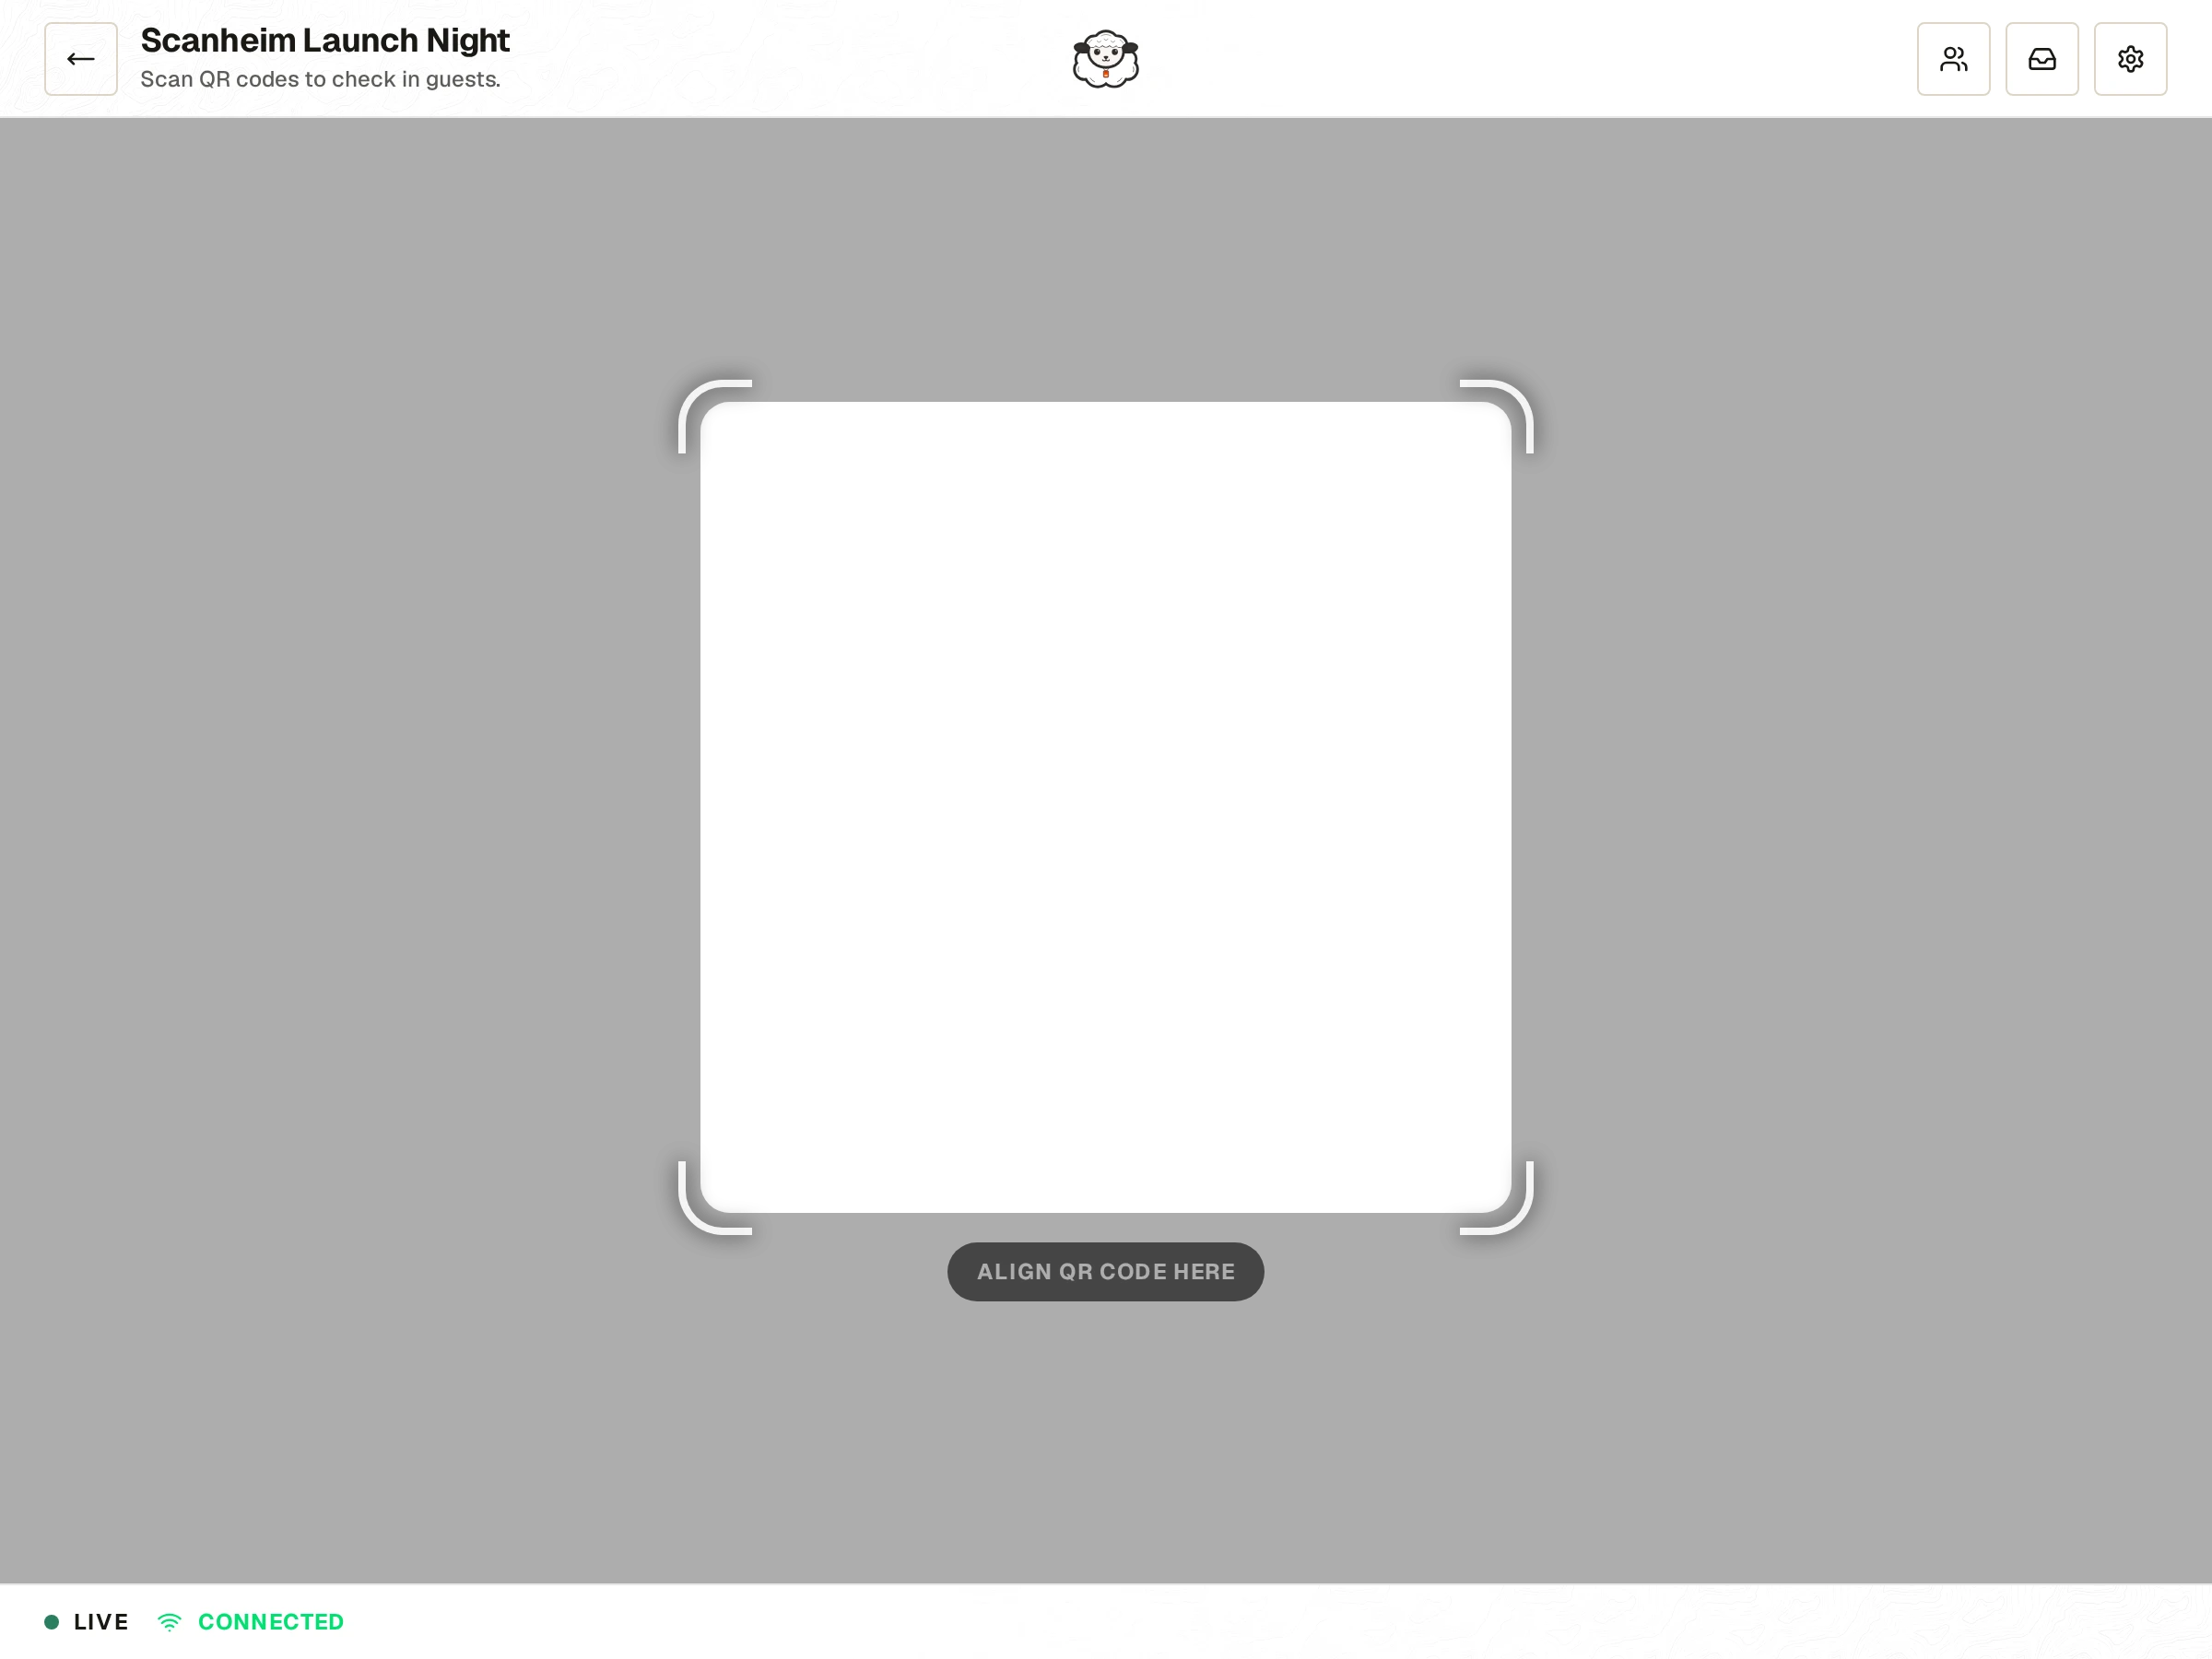
The scanner turns any phone with a camera into a door terminal. There is no app to install, no hardware to rent, and no per-device licence. Open the page, pick where you are standing, and scan.
Opening the scanner
From the event sidebar, under Operations, choose Scanner. It opens as a full-screen page of its own (in a new tab on phones).
Before scanning you choose two things:
- Terminal. Where you are standing. See terminals.
- Schedule. Which session you are checking people into.
Both are required. Without them the scanner tells you to pick a terminal and a schedule first, because a check-in has to be recorded against something.
Allow the camera when the browser asks. If you refuse by accident, see troubleshooting.
Scanning
Point the camera at the guest's QR code, on a phone screen or on paper. Either works.
Auto Scan keeps the camera reading continuously, so a queue moves without anyone tapping between guests. Turn it off and each capture is a deliberate tap, which is better at a slow desk where you want to look at each result.
Hardware Scanner mode accepts input from a connected barcode gun, captured automatically as it is typed. Use it for a fixed desk with real scanning hardware.
Flip Preview mirrors the camera image horizontally. The default suits scanning a code held up in front of you; flip it when the geometry feels backwards.
What each result means
Checked in. The guest is in, and an attendance record now exists for that guest, that schedule and that terminal.
Already checked in. This guest has already been checked in for the selected schedule. Not an error: a second scan of the same ticket should say this, and it is how you catch a passed-back ticket.
Not valid for the selected schedule. The guest's ticket tier does not admit them to this session. A day-two ticket at a day-one door produces this.
Check-in is not enabled for this schedule. The schedule's check-in switch is off. Turn it on from the schedules page if the session really is running.
Guest not found for this event. The code is not a guest of this event. Usually a ticket for a different event, or a code from something else entirely.
Guest is archived. Please approach staff. The guest was archived. They are not turned away automatically; the door is told to talk to them.
Flagged. The guest has been flagged. The scan is not blocked. Someone should speak to them.
The guest manifest
The panel beside the scanner holds the guest list for the selected schedule, searchable by name.
This is what you use when someone has no ticket, a dead phone, or a name that does not match anything you can scan. Find them, and check them in from there.
The manifest is also what makes offline scanning work. See scanning offline.
The scan queue
Scans that have not yet reached the server sit in the queue panel. Normally it is empty and scans land instantly.
When the connection drops, the queue fills and the scanner keeps working. Past a hundred queued scans you get a soft warning, not a stop: the queue has no hard limit and the scanner keeps taking people in.
Long shifts
The scanner sends a quiet heartbeat every few seconds while it is open. Besides telling you whether you are connected, it keeps your session alive, which is what stops a six-hour shift ending in an expired-session error at the worst possible moment.
If the session does expire, the scanner says so and offers a sign-in prompt. Sign in, and queued scans resume syncing.
Multiple scanners at once
Run as many as you like. Each device picks its own terminal and schedule, and they do not conflict with each other. A guest already checked in on one device is reported as already checked in on all the others.
Last reviewed October 7, 2026