Schedules.
The sessions people check in to, and the CSV import for them.
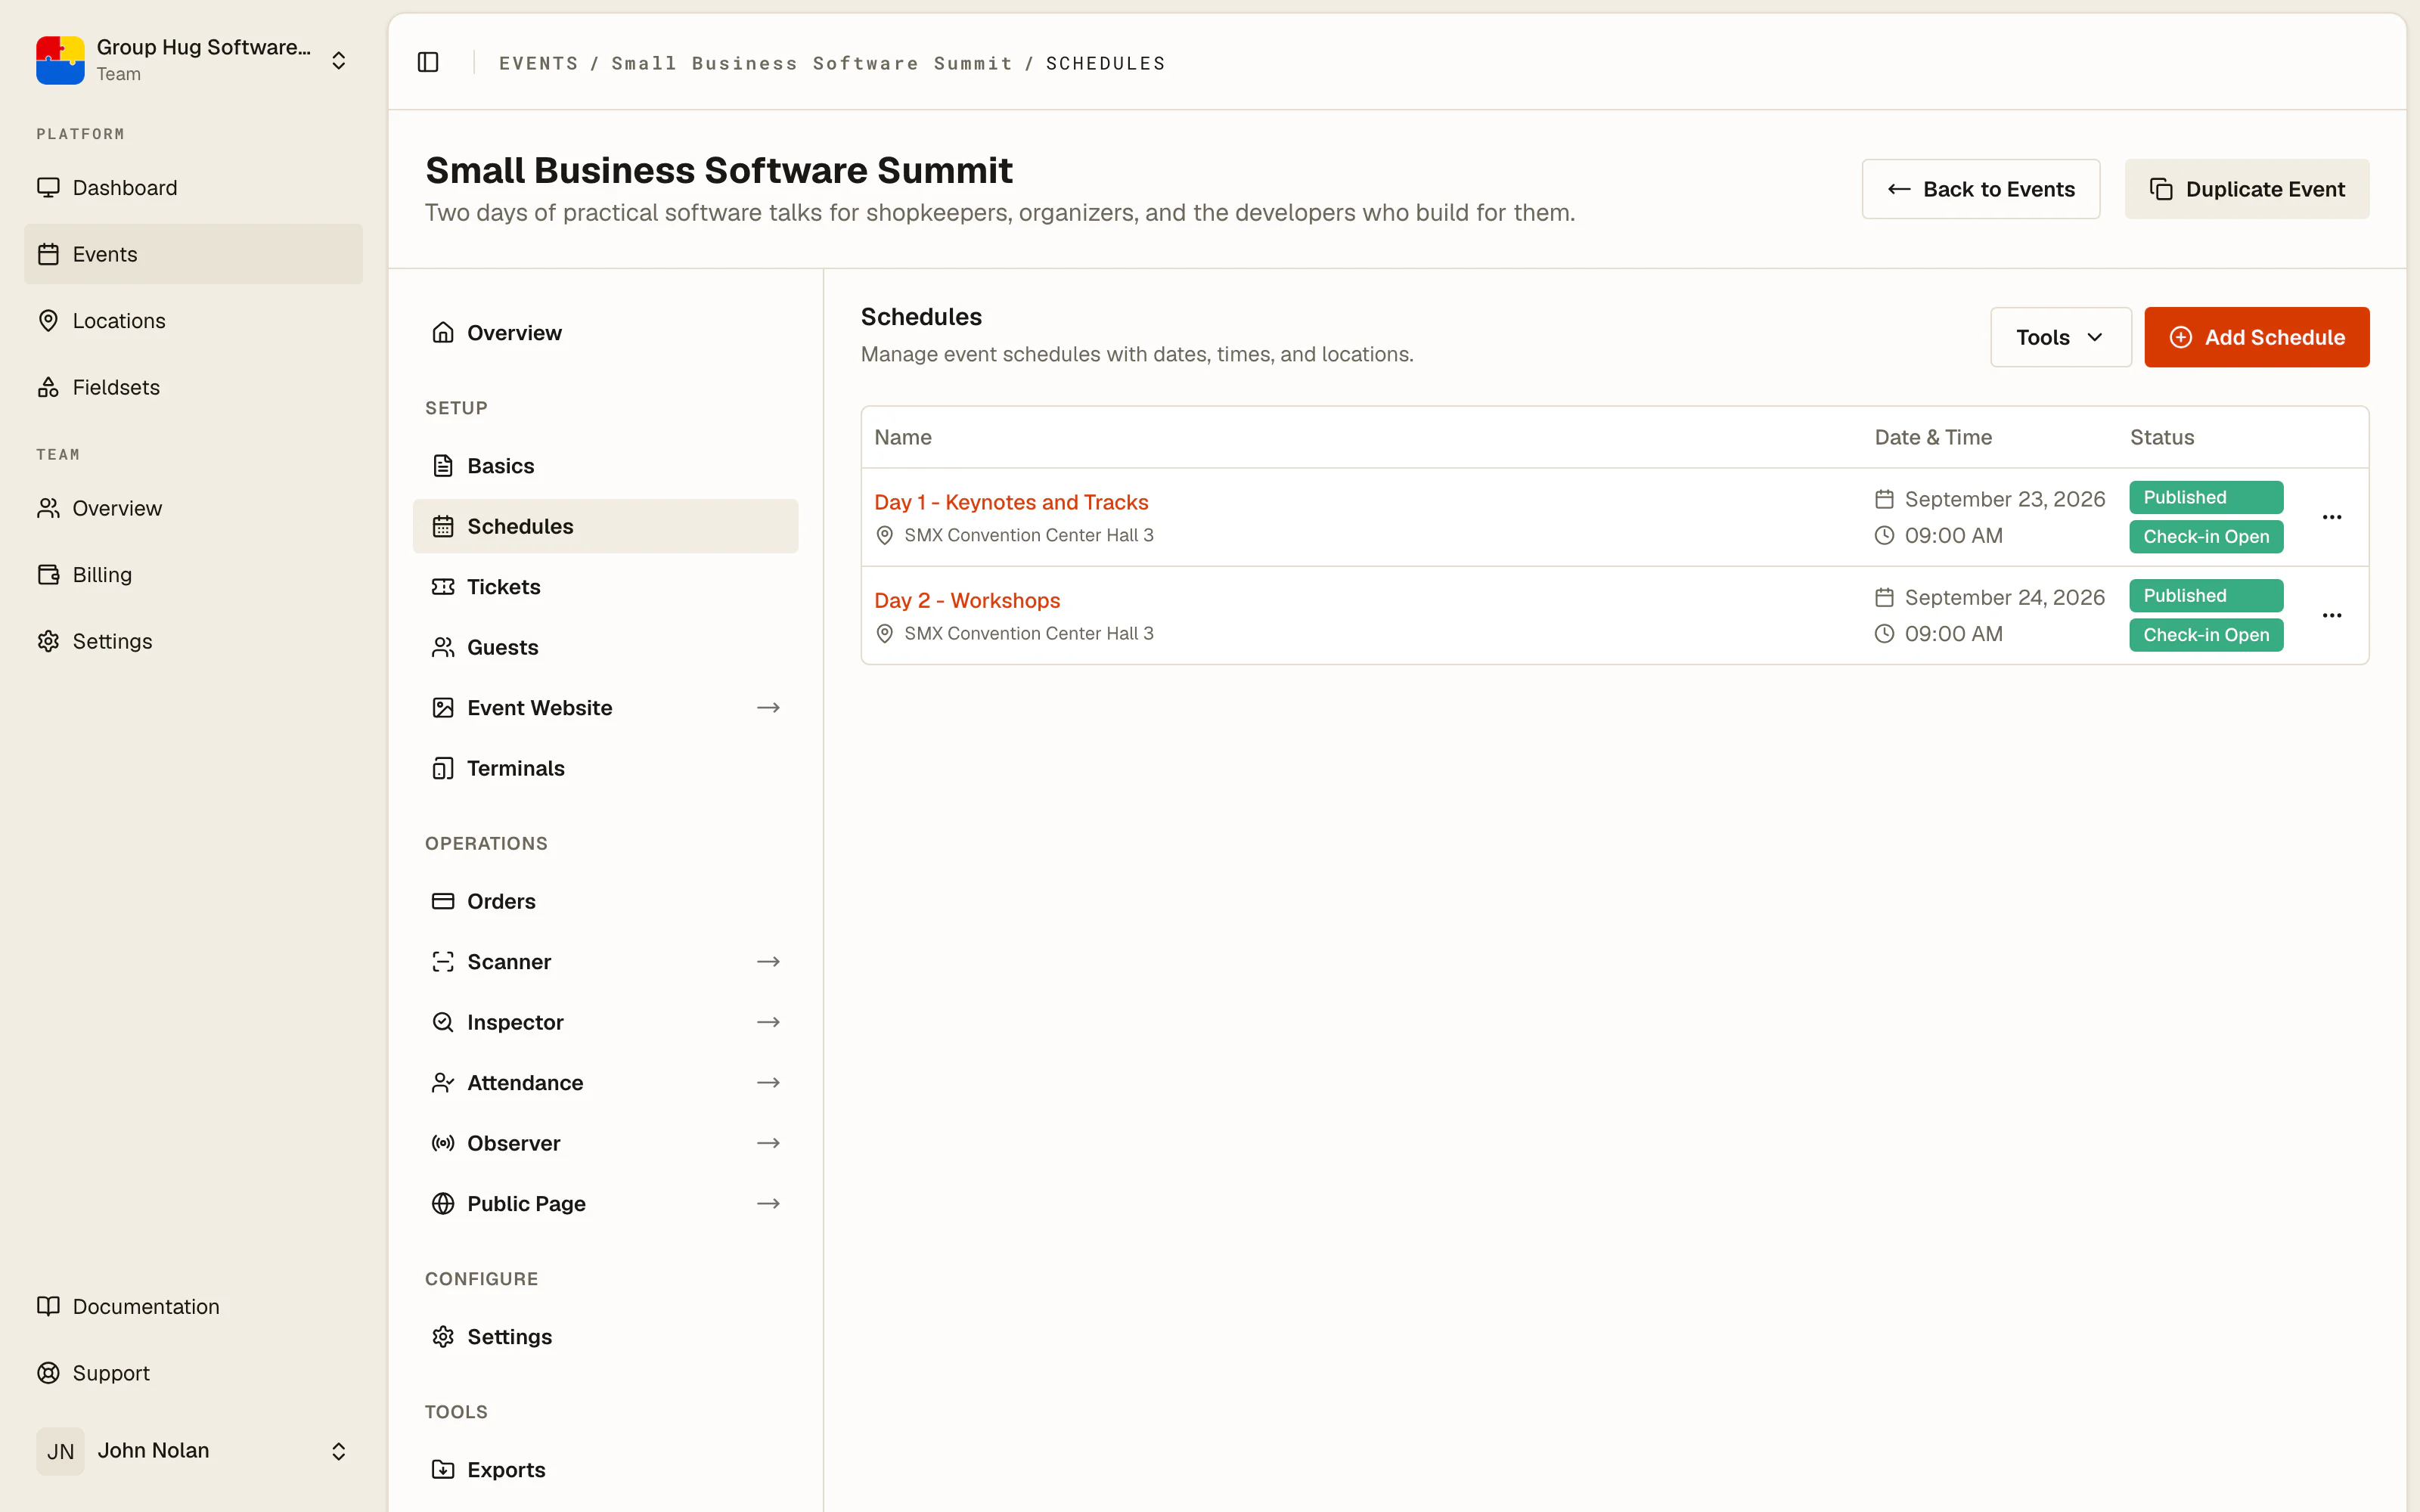
A schedule is a session people check in to. Check-in always happens against a schedule, never against the event as a whole, which is what makes multi-part events work without any extra machinery.
When you need more than one
One schedule is right for a single session: doors at eight, one room, everyone comes once.
Add a schedule for each separate occasion people can be scanned in:
- A conference over two days. Day one and day two. Someone with a day-two-only ticket cannot be scanned in on day one.
- A race with kit collection. Kit pickup on Saturday, race day on Sunday. The same QR ticket works at both, and each scan is recorded separately, so you always know who has collected a kit.
- A festival with a workshop track. The main event and each workshop, so you know who actually attended the workshop rather than who intended to.
Two schedules on the same day are fine. Schedules are sessions, not days.
Creating a schedule
Choose Add Schedule and fill in:
- Name. What the crew calls it:
Day 1 - Main Hall,Kit Collection,Doors. - Details. Optional notes shown alongside the schedule on the public page.
- Location. One of your saved locations. Different schedules can be at different venues.
- Start date and end date. Same day for a single session, different days for a session that runs overnight.
- Start time and end time. The window the session runs for.
The start and end window matters beyond display: the event Overview switches into live mode while the current time falls inside one of your schedule windows.
Published and check-in enabled
Every schedule carries two switches, and they do different jobs.
Published controls whether the schedule appears on your public event page. Unpublish a schedule and the public stops seeing it while everything behind the scenes carries on.
Check-in enabled controls whether the scanner accepts tickets for that schedule. Turn it off and scans for that session are refused, with a clear reason at the terminal.
Sort order
Schedules display in sort order, lowest first. Set it deliberately for a multi-day event so day one is at the top of the public page rather than wherever it happened to be created.
Importing schedules from a spreadsheet
For an event with many sessions, a conference programme or a festival timetable, importing beats typing.
Choose Upload CSV from the schedules page and pick your file. Nothing is created straight away: you get a preview of every row, with problems flagged, so you can fix the file and re-upload before committing. When it looks right, dispatch the import.
The sample CSV, downloadable from the same menu, has the exact headers. Required columns are name, location_id, start_date, end_date, start_time and end_time. Optional columns are details, is_published, is_check_in_enabled and sort_order. Full details are in the CSV reference.
Deleting a schedule
Deleting a schedule deletes the attendance records taken against it. If a session ran and people were scanned in, unpublish it and turn its check-in off instead of deleting it, so the history survives.
Last reviewed August 21, 2026