Run your first event.
From an empty account to a working QR ticket in fifteen minutes.
This walkthrough takes a new account to a published event with a working QR ticket. It assumes nothing except an email address, and it takes about fifteen minutes at a normal pace.
Before you start
You need one thing: an account. Signing up creates a team for you automatically, and everything you make from then on belongs to that team. If someone has already invited you to their team, accept the invitation first so your work lands in the right place.
You do not need a payment gateway, a card, or any hardware. Free events cost nothing to run, and the scanner works on the phone already in your pocket.
Step 1. Create the event
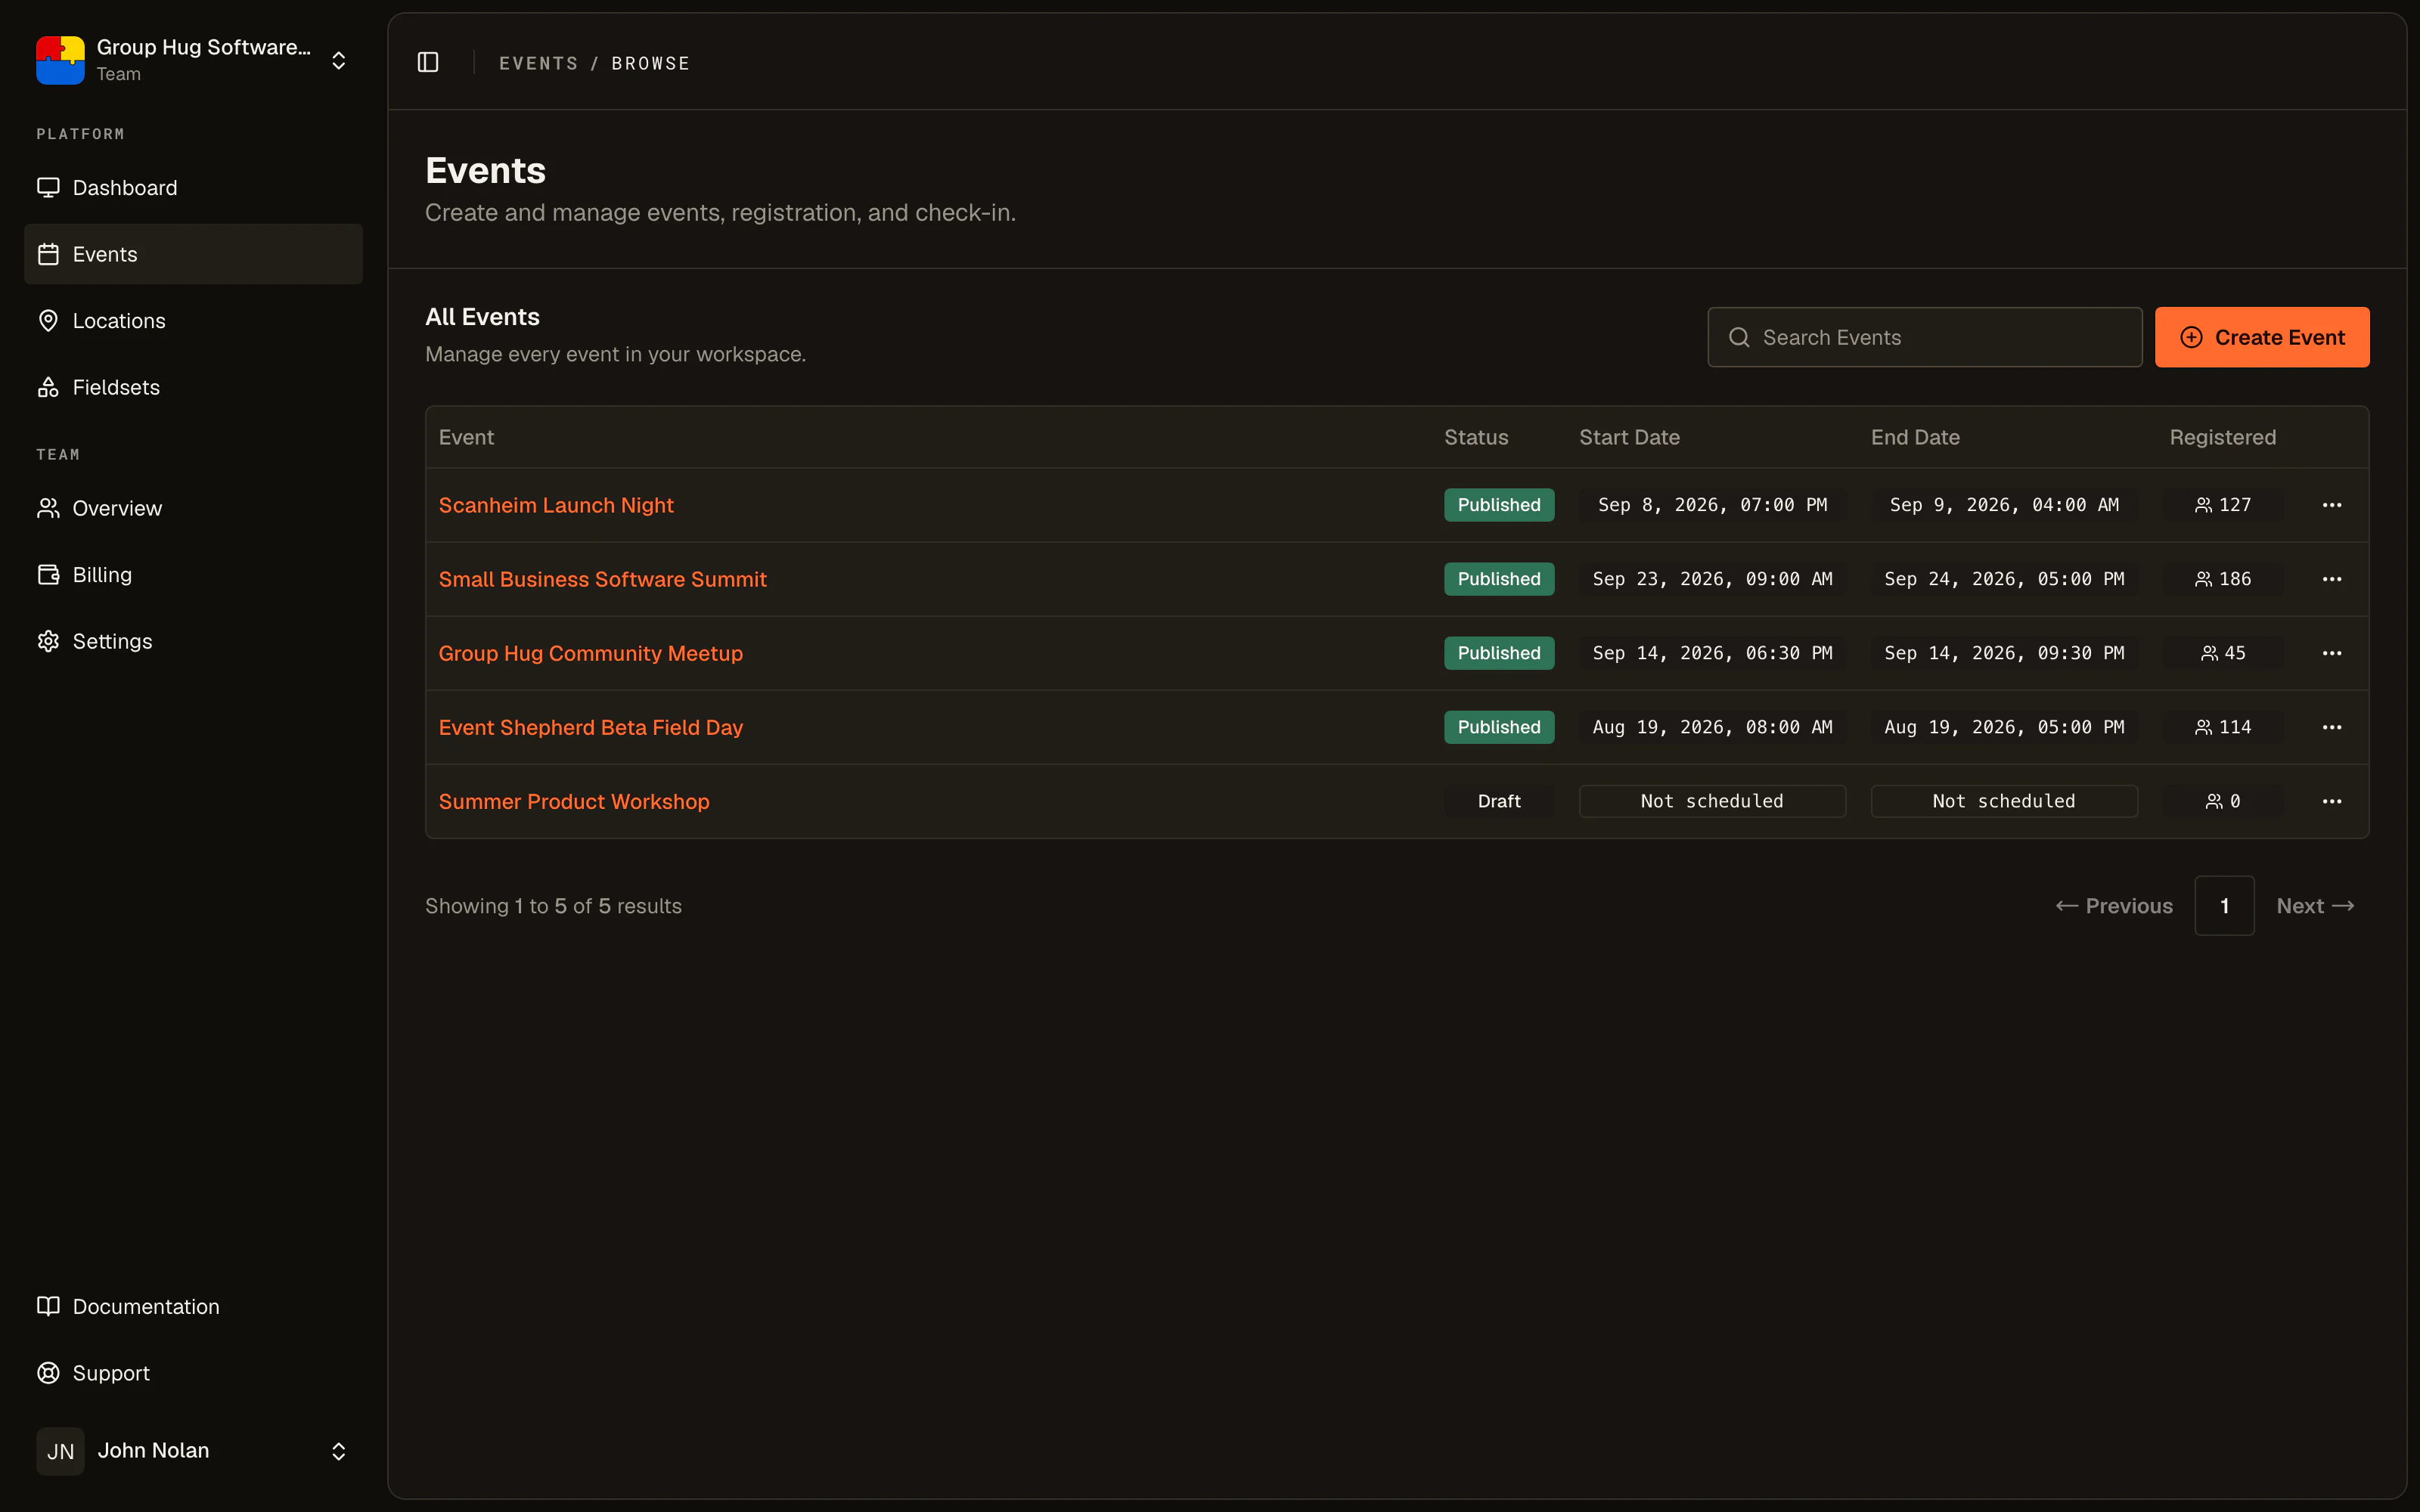
Open Events in the sidebar and choose Create Event.
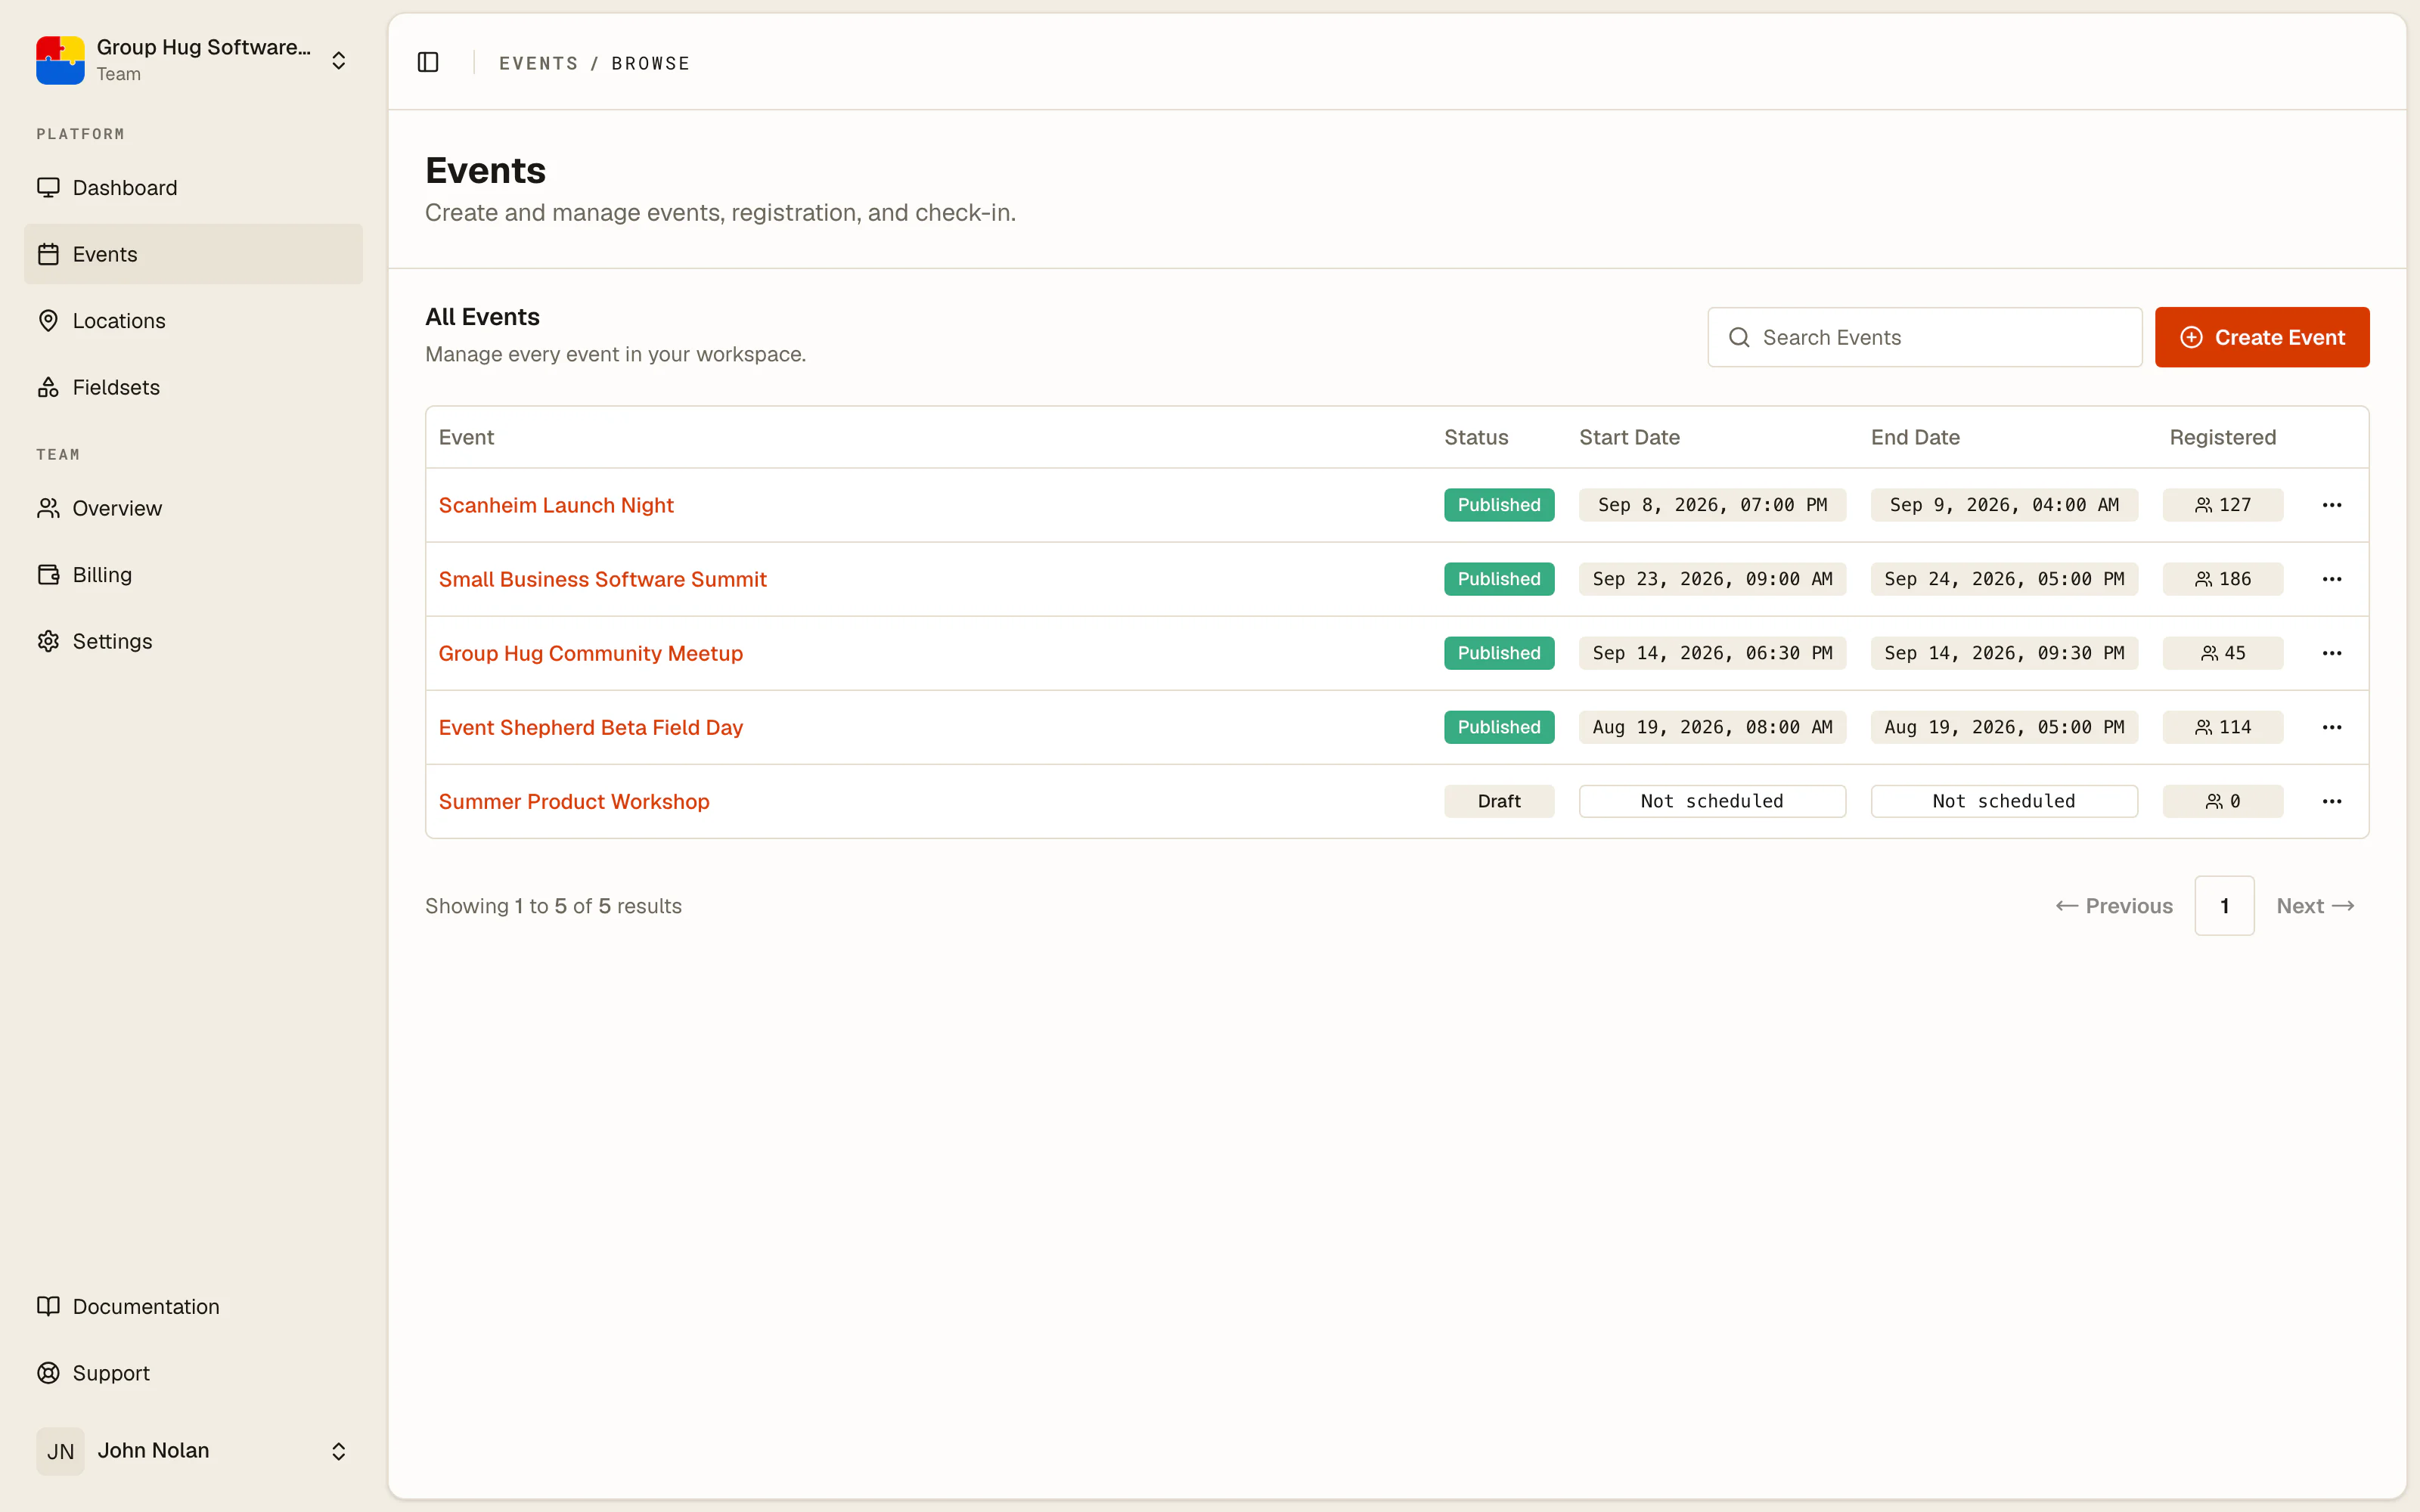
An event needs a name to exist. Everything else can wait.
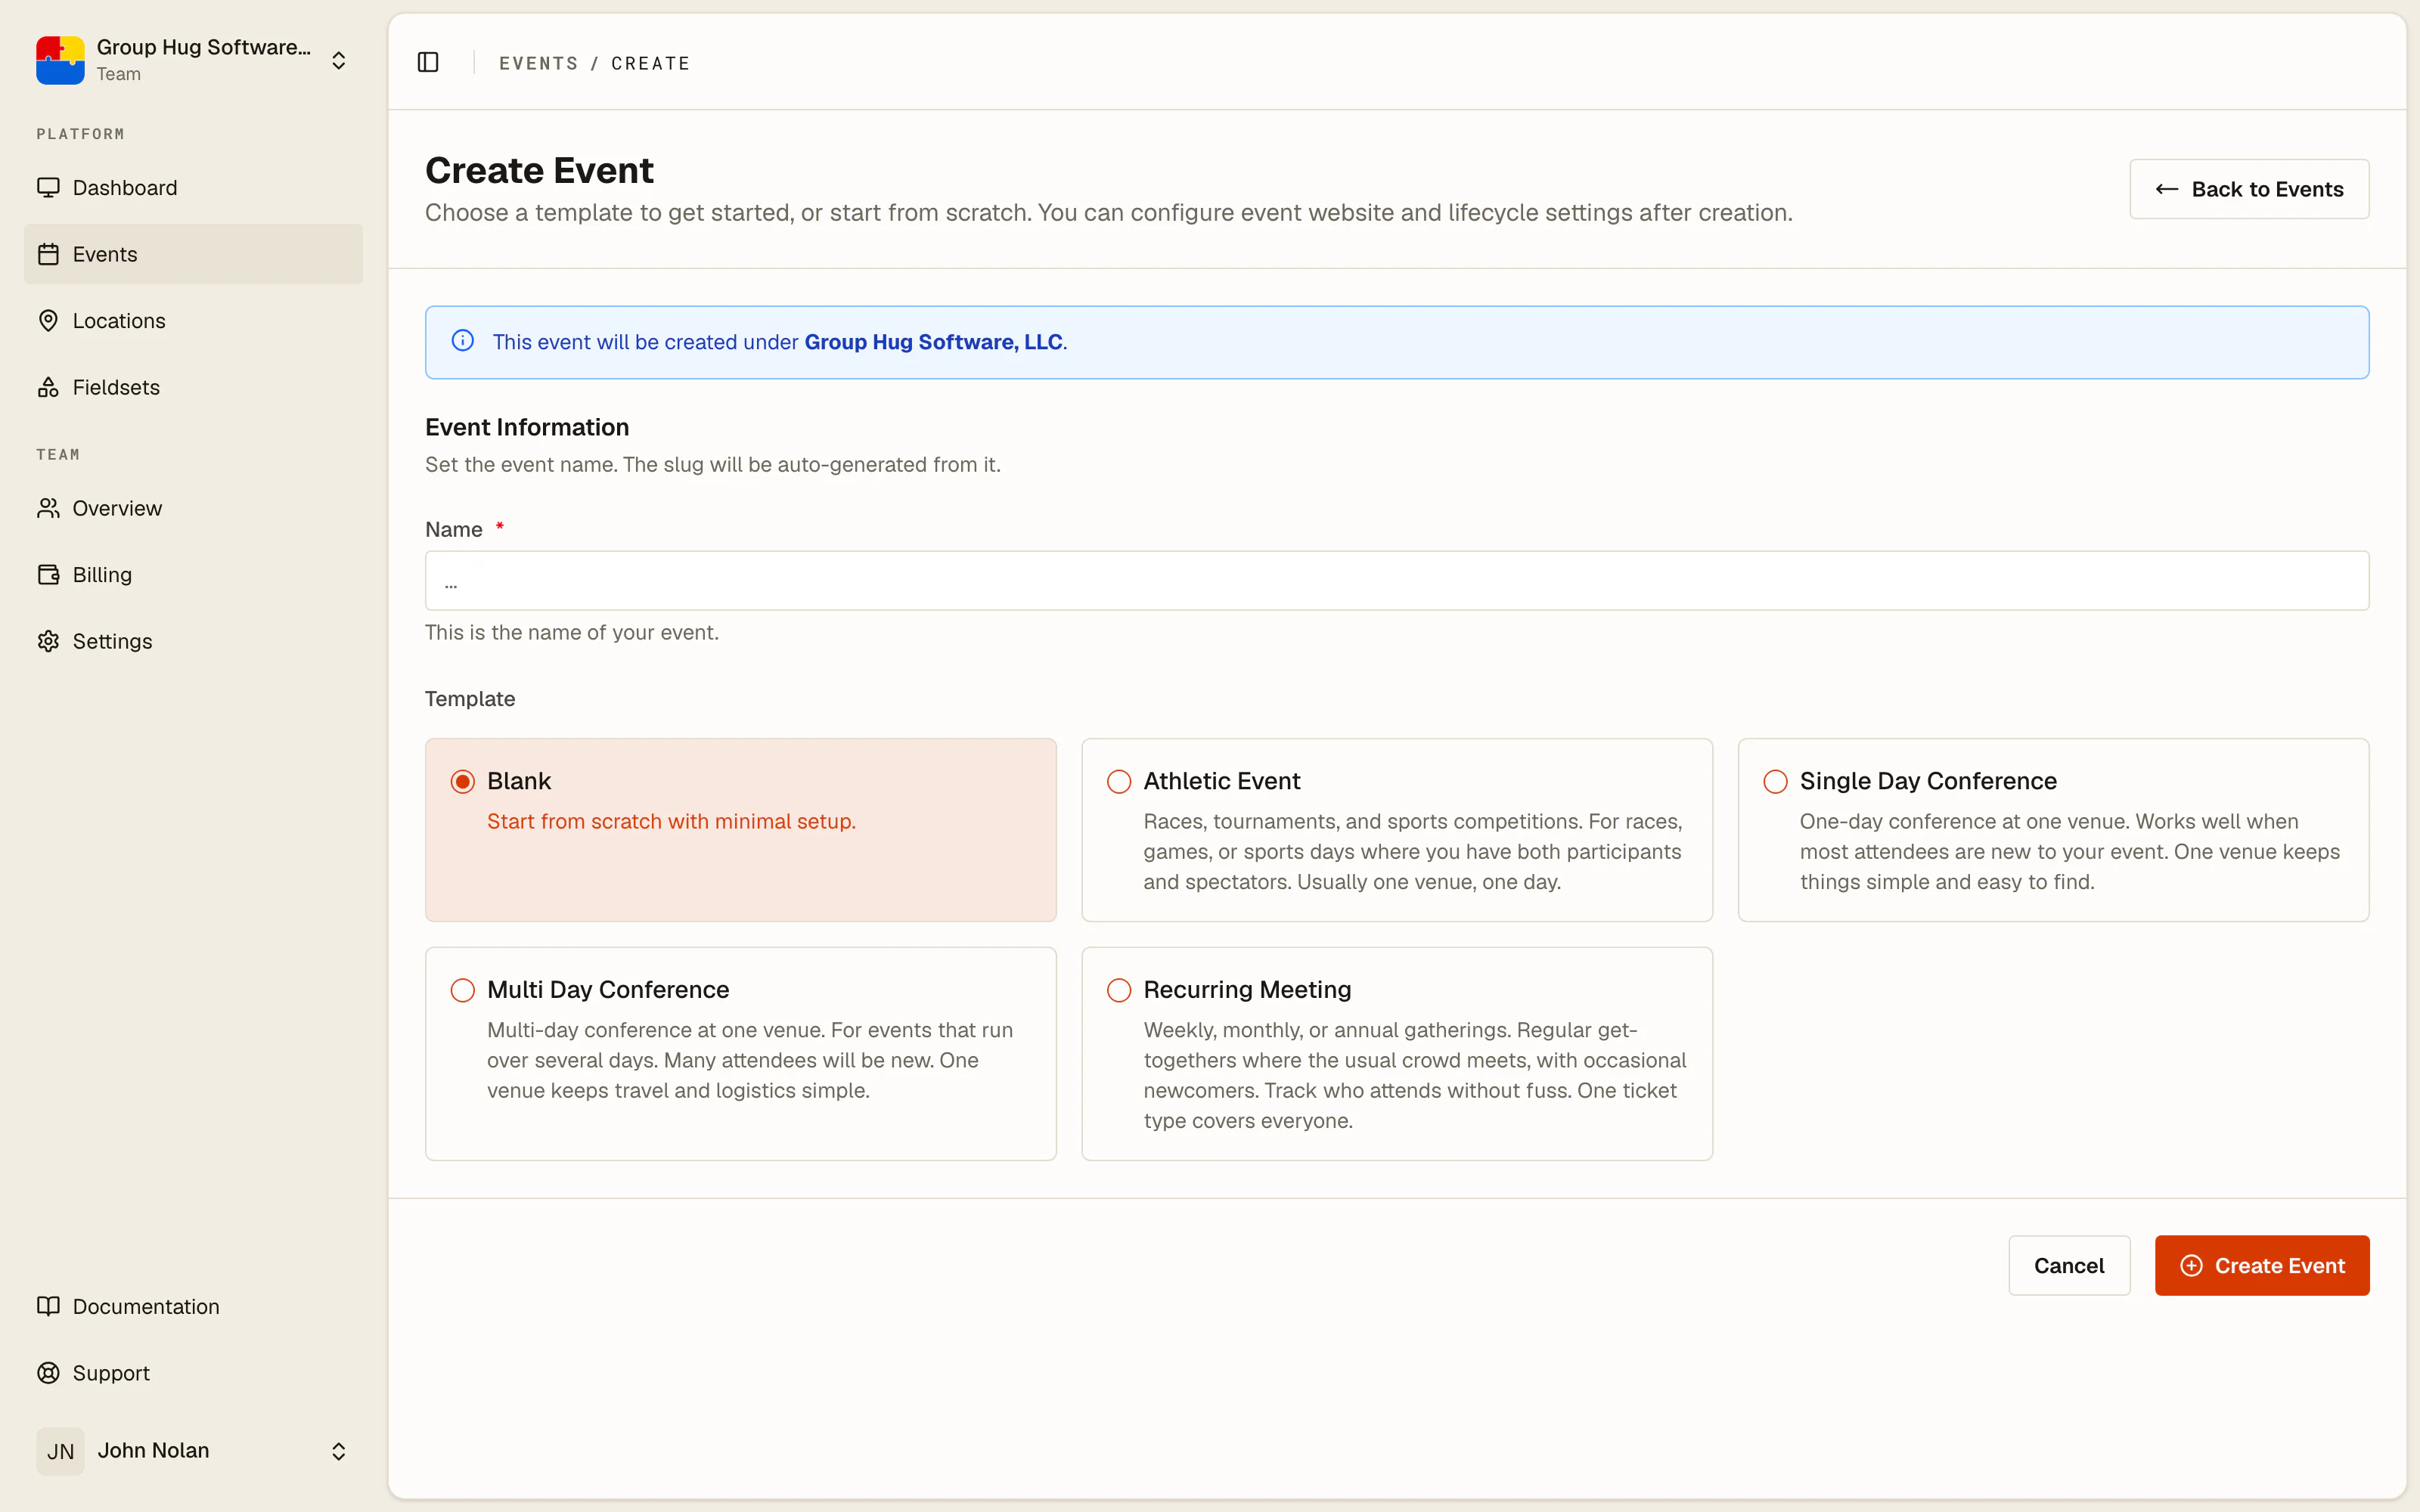
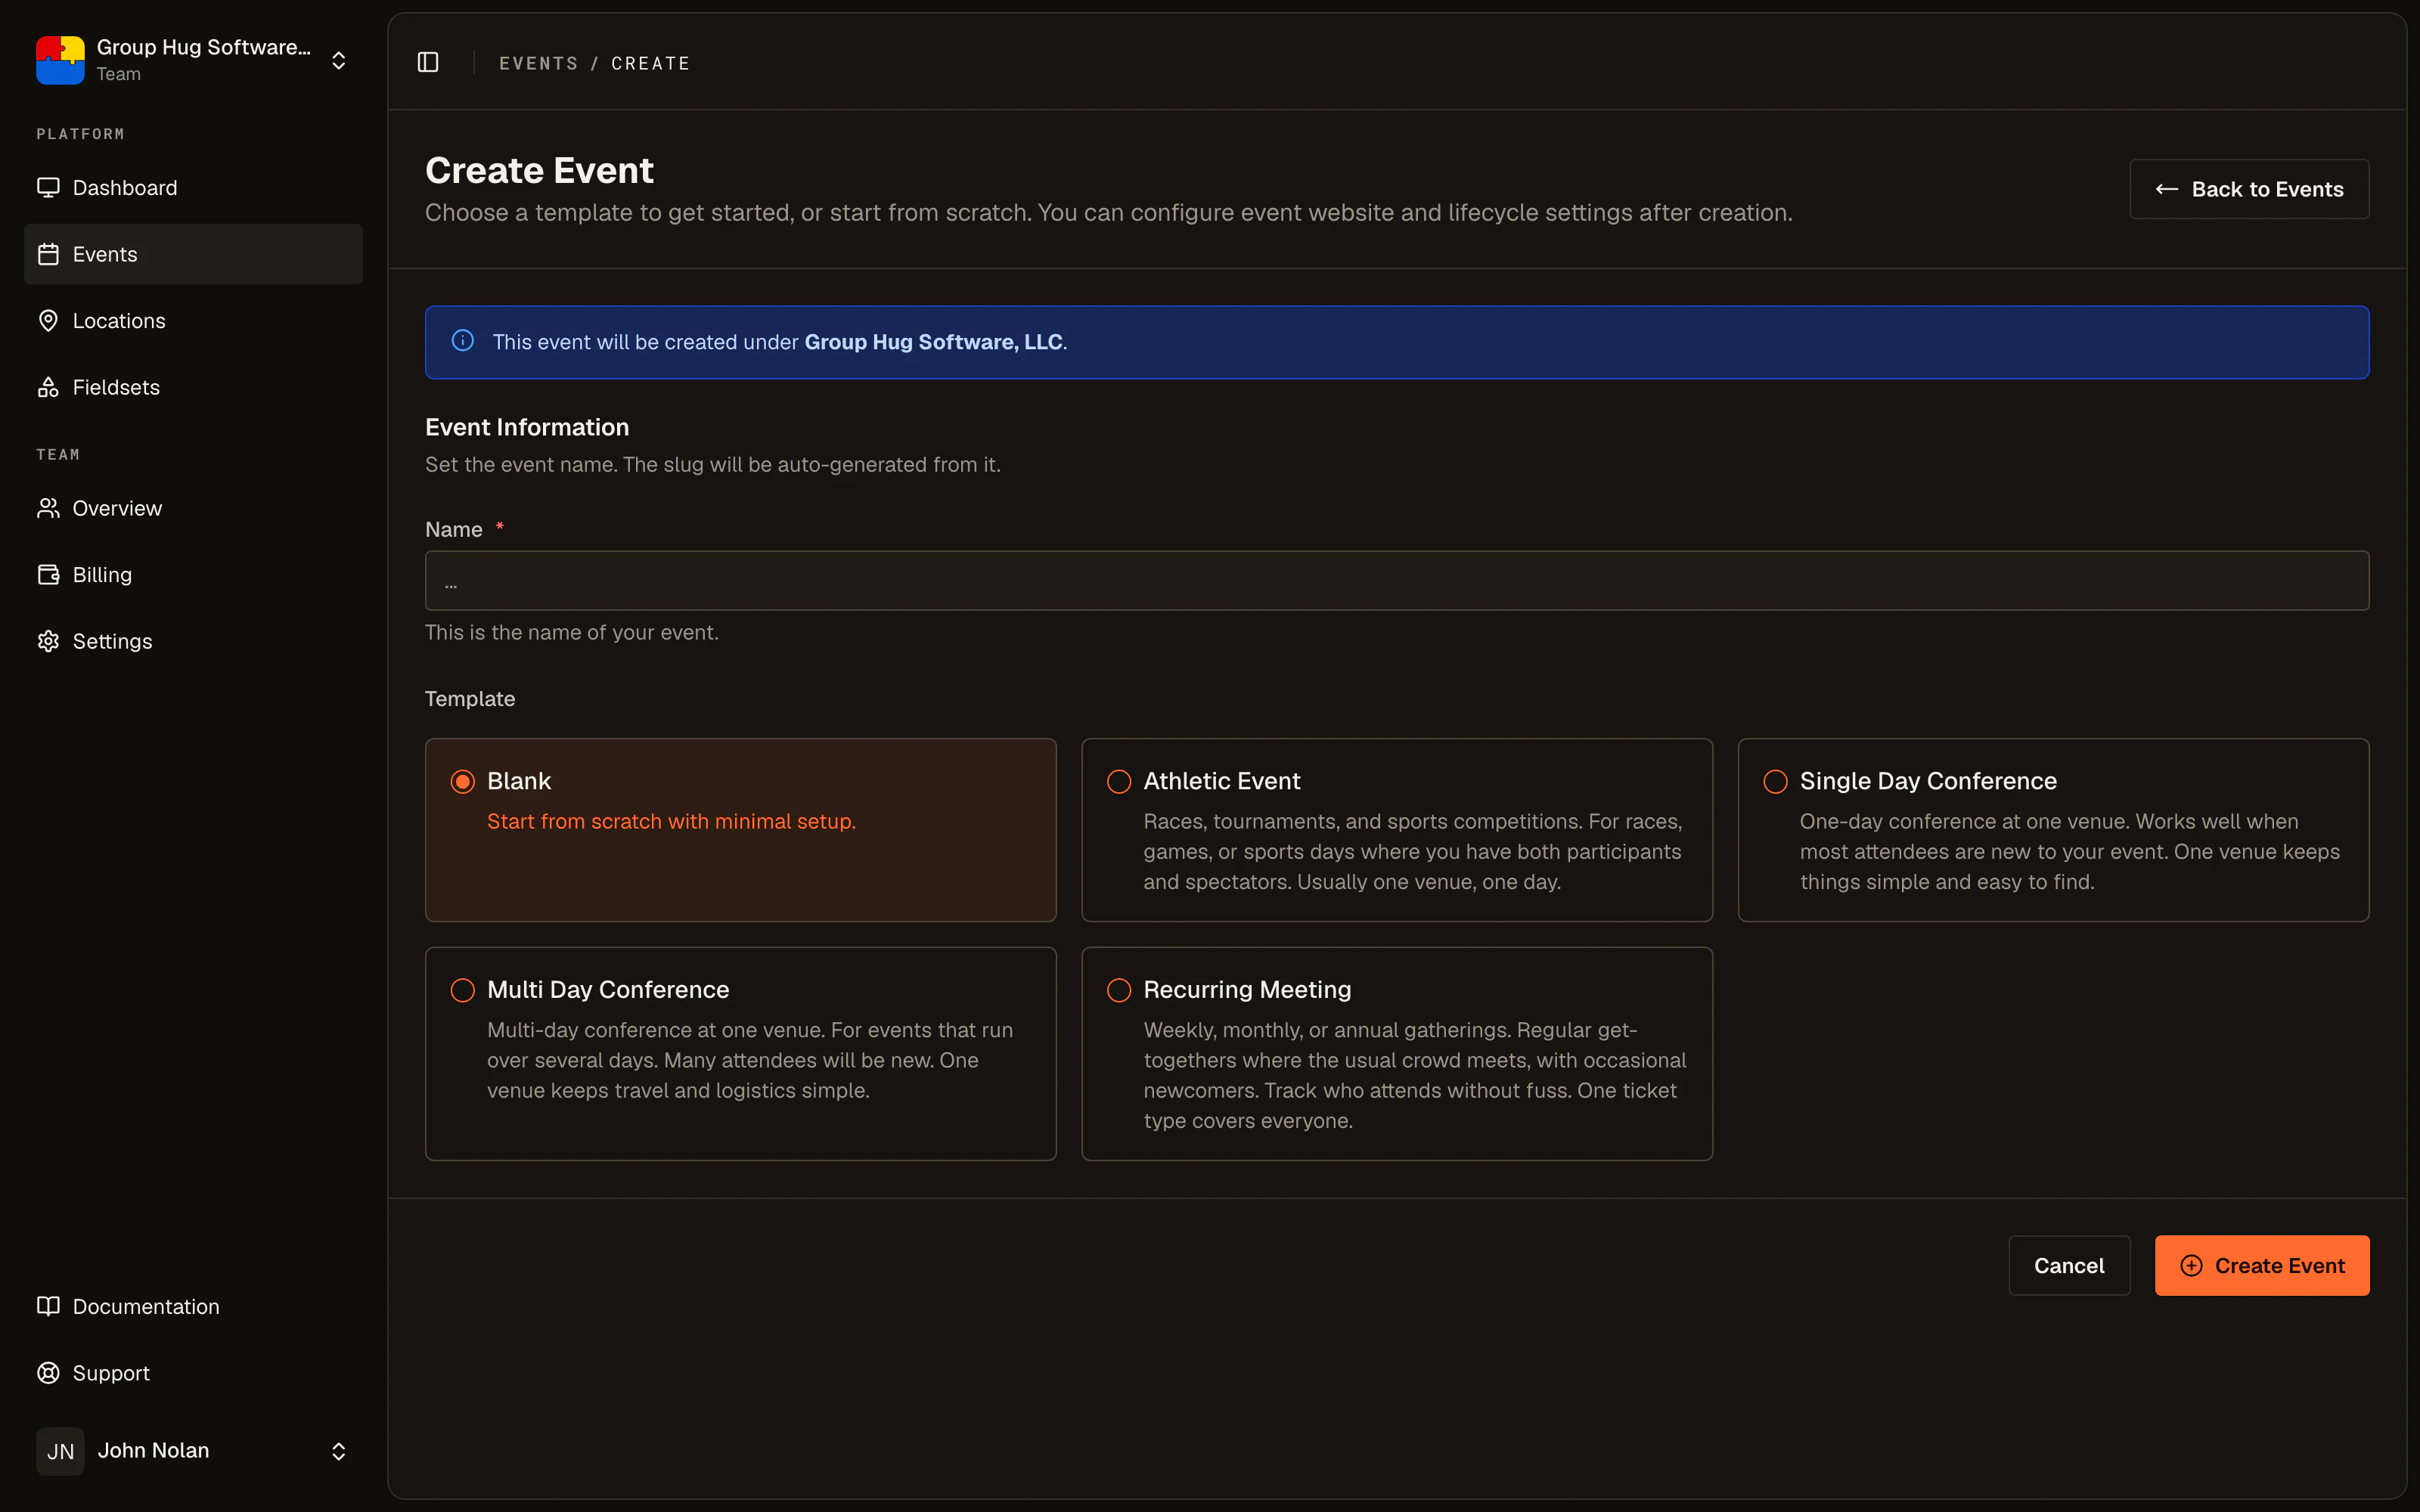
Under the name you can pick a template. Blank gives you an event with nothing in it, which is the right choice if your event does not look like anything on the list. The templates cover the shapes that come up most: an athletic event, a single or multi day conference, a recurring meeting. A template only sets up starting tiers and schedules for you, and you can rename or delete every one of them afterwards.
Choose Create Event and you land in the event workspace.
Step 2. Learn the workspace
You land on the event Overview, and the sidebar beside it is the whole event. It is grouped by what you are doing:
- Setup holds Basics, Schedules, Tickets, Guests, Event Website and Terminals. This is the build.
- Operations holds Scanner, Inspector, Attendance, Observer and a link to your public page. These are the event-day tools, and each opens as a full-screen page of its own (in a new tab on phones).
- Configure holds Settings, where registration is opened and closed.
- Tools holds Exports.
While the event is still being built, the Overview is a setup checklist. It is the page telling you what is left to do, rather than charts of activity that has not happened yet.
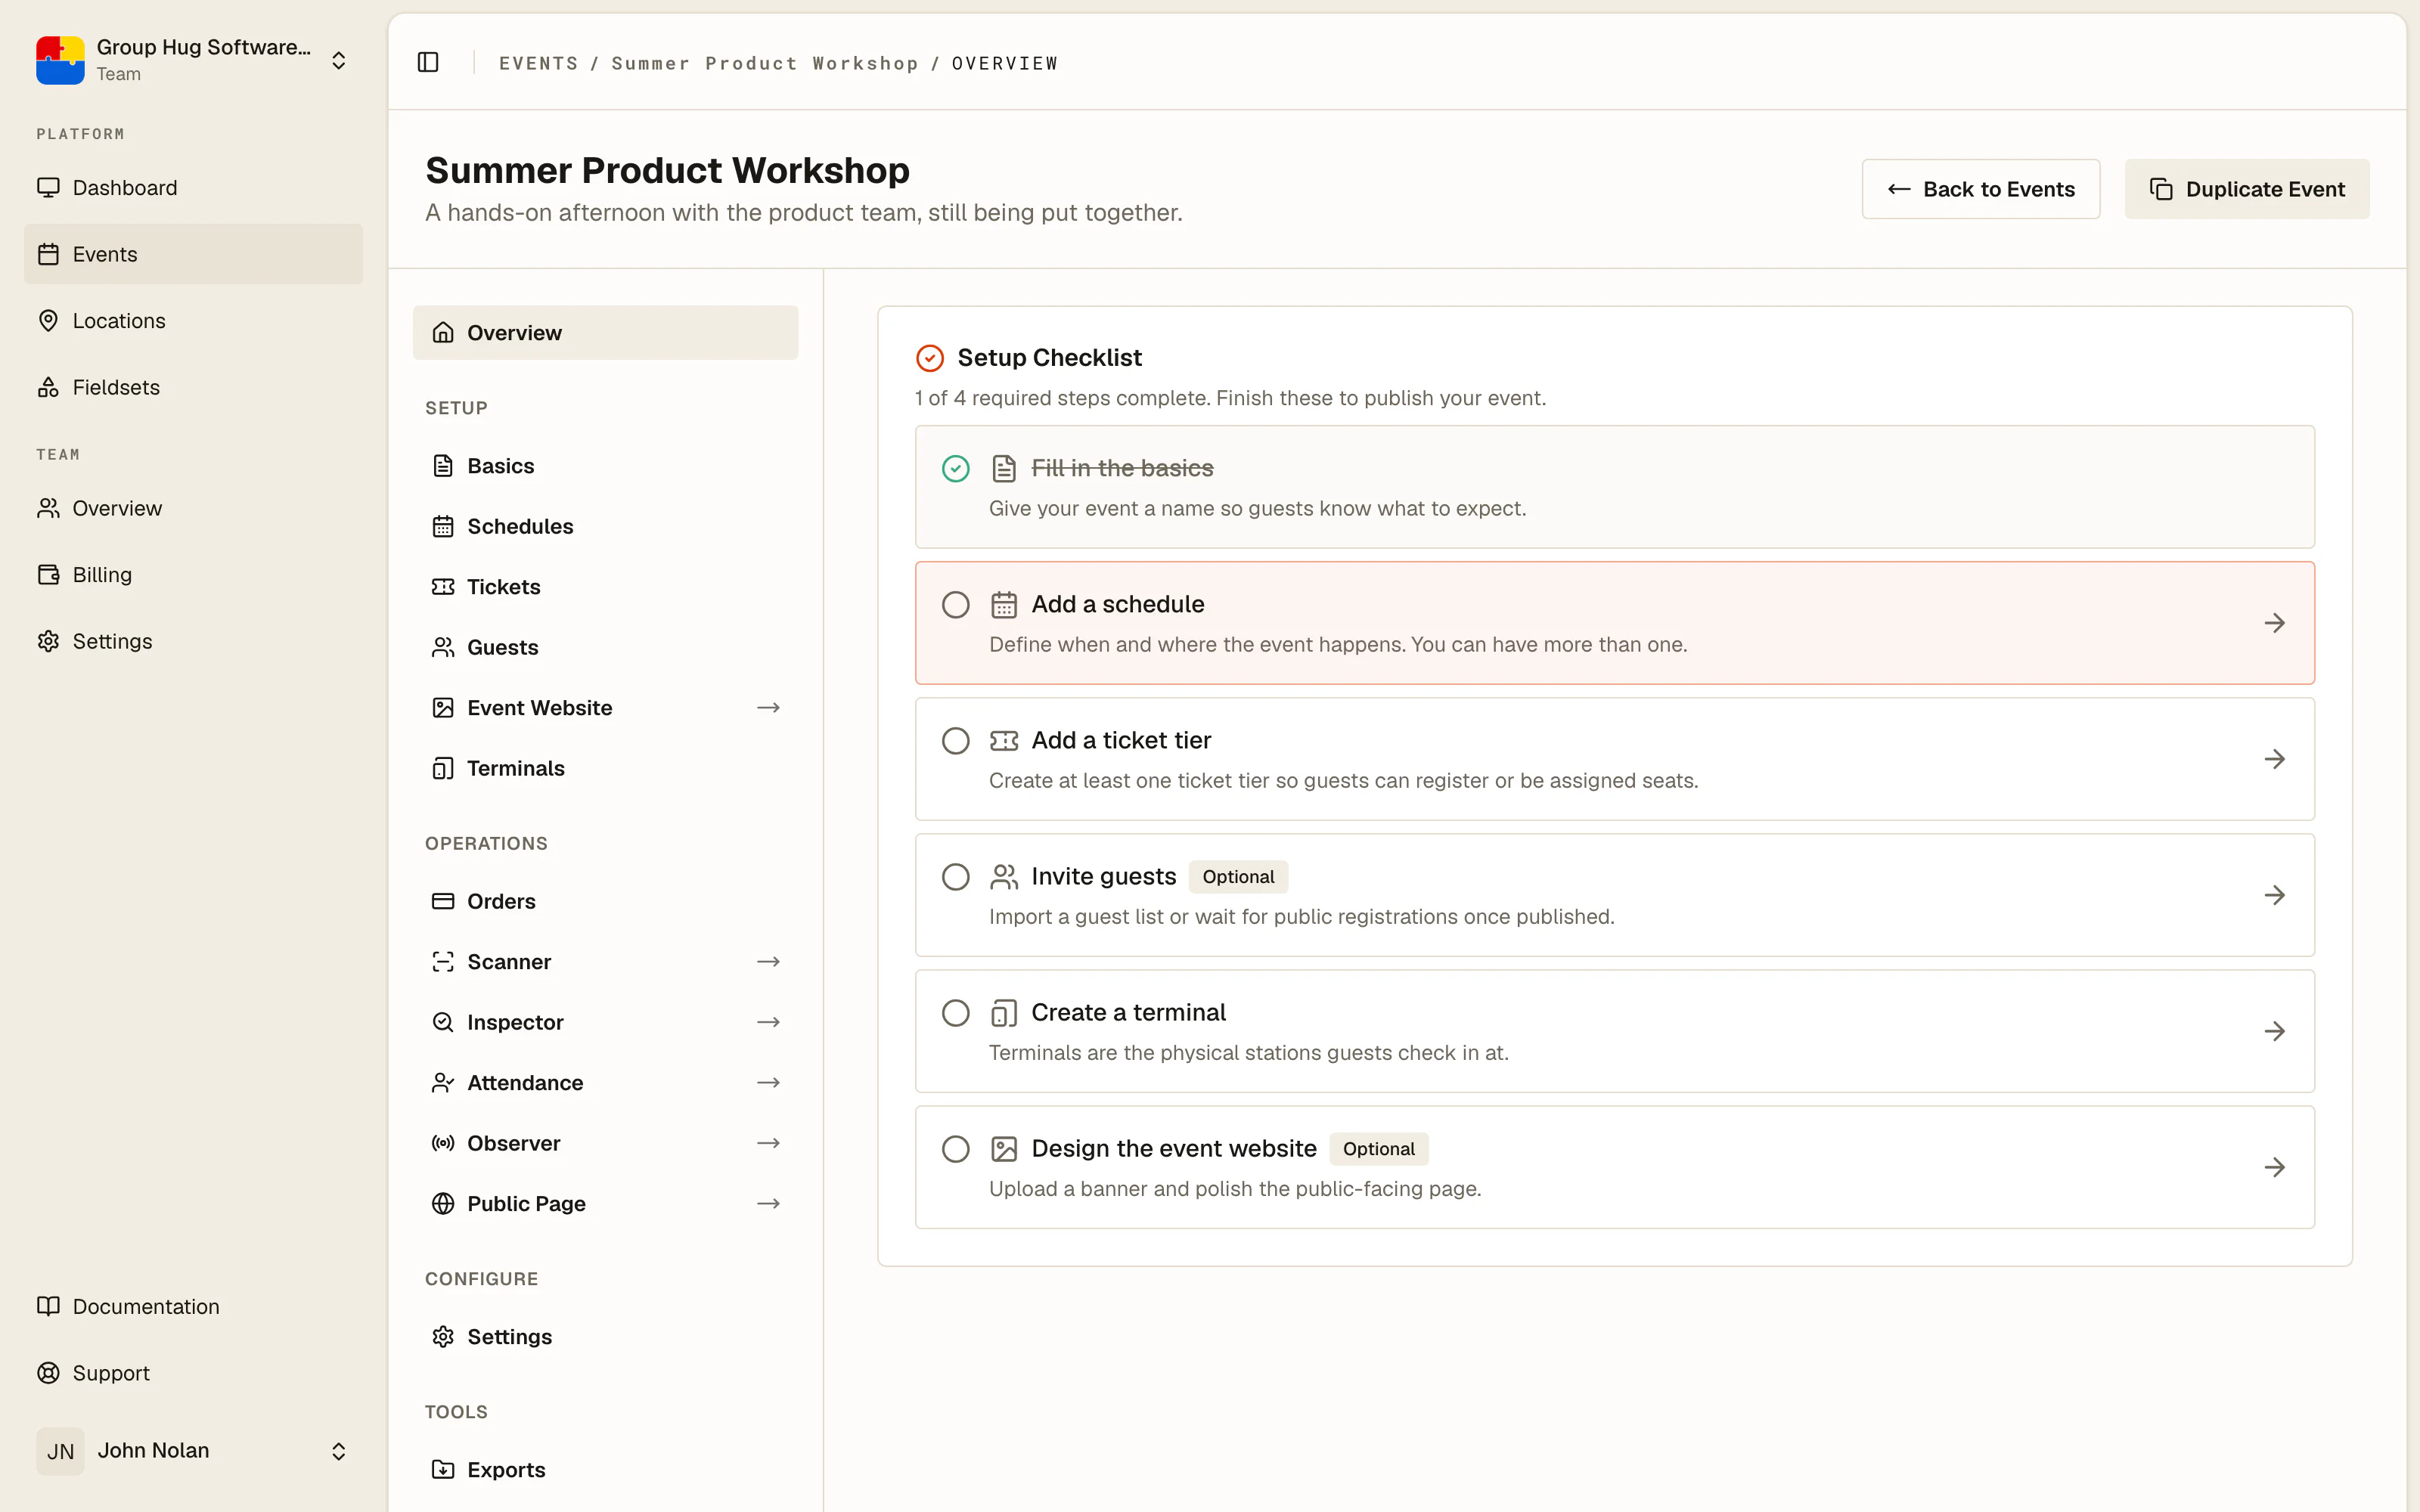
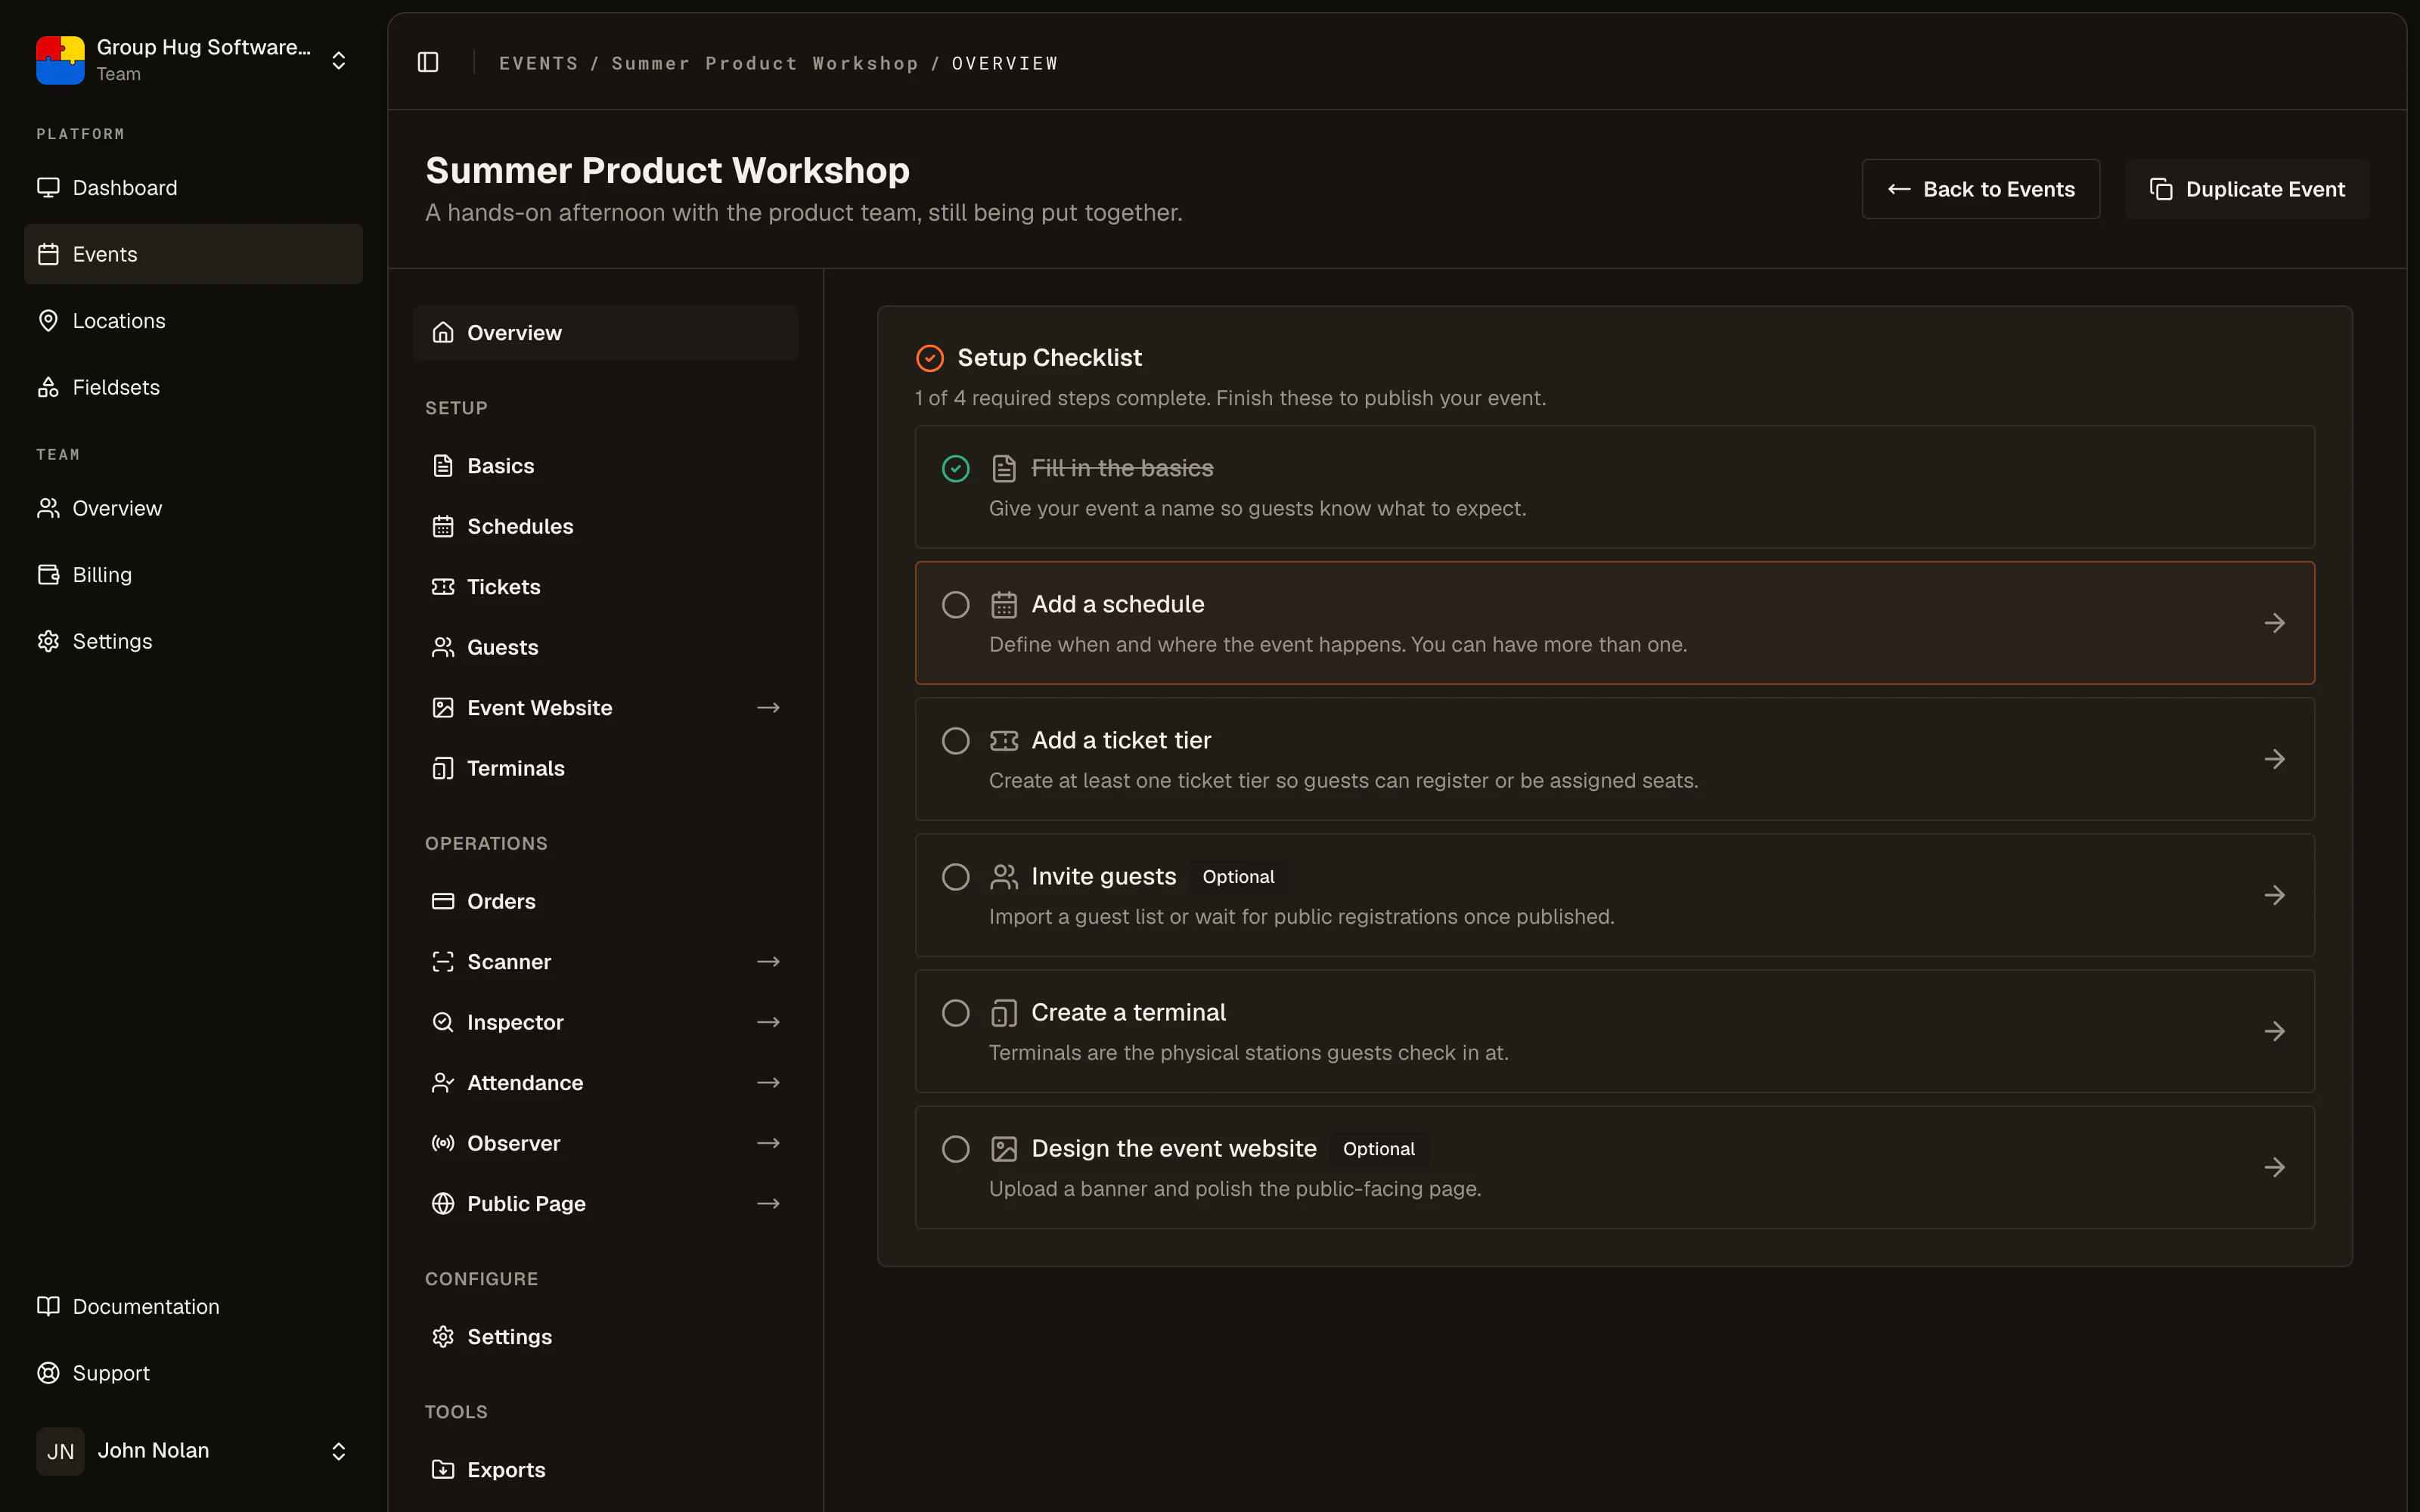
The checklist has eight rows. Five are required, and the checklist marks the other three as optional:
- Basics. A name. The row is ticked as soon as the event has one, but write the details before you share the page.
- A schedule. When and where the event happens. One is enough to start.
- A ticket tier. At least one, even for a free event. Every guest holds a tier.
- Guests (optional). Imported by you, or registered by themselves once the event is published.
- A terminal. The named door or desk that check-ins get recorded against.
- The event website (optional). A banner and a tidy public page.
- Registration (optional). Turned on in Settings when you want the public to sign up. An invite-only event can leave it off.
- Publish. Takes the event live from Settings > Event Status. Until then, the event page shows a not-found page.
Basics is ticked the moment you create the event, because it already has a name. If you picked a template, the schedule and ticket tier rows are ticked too. Every row is a link, so you can work the list from the top without hunting through the sidebar.
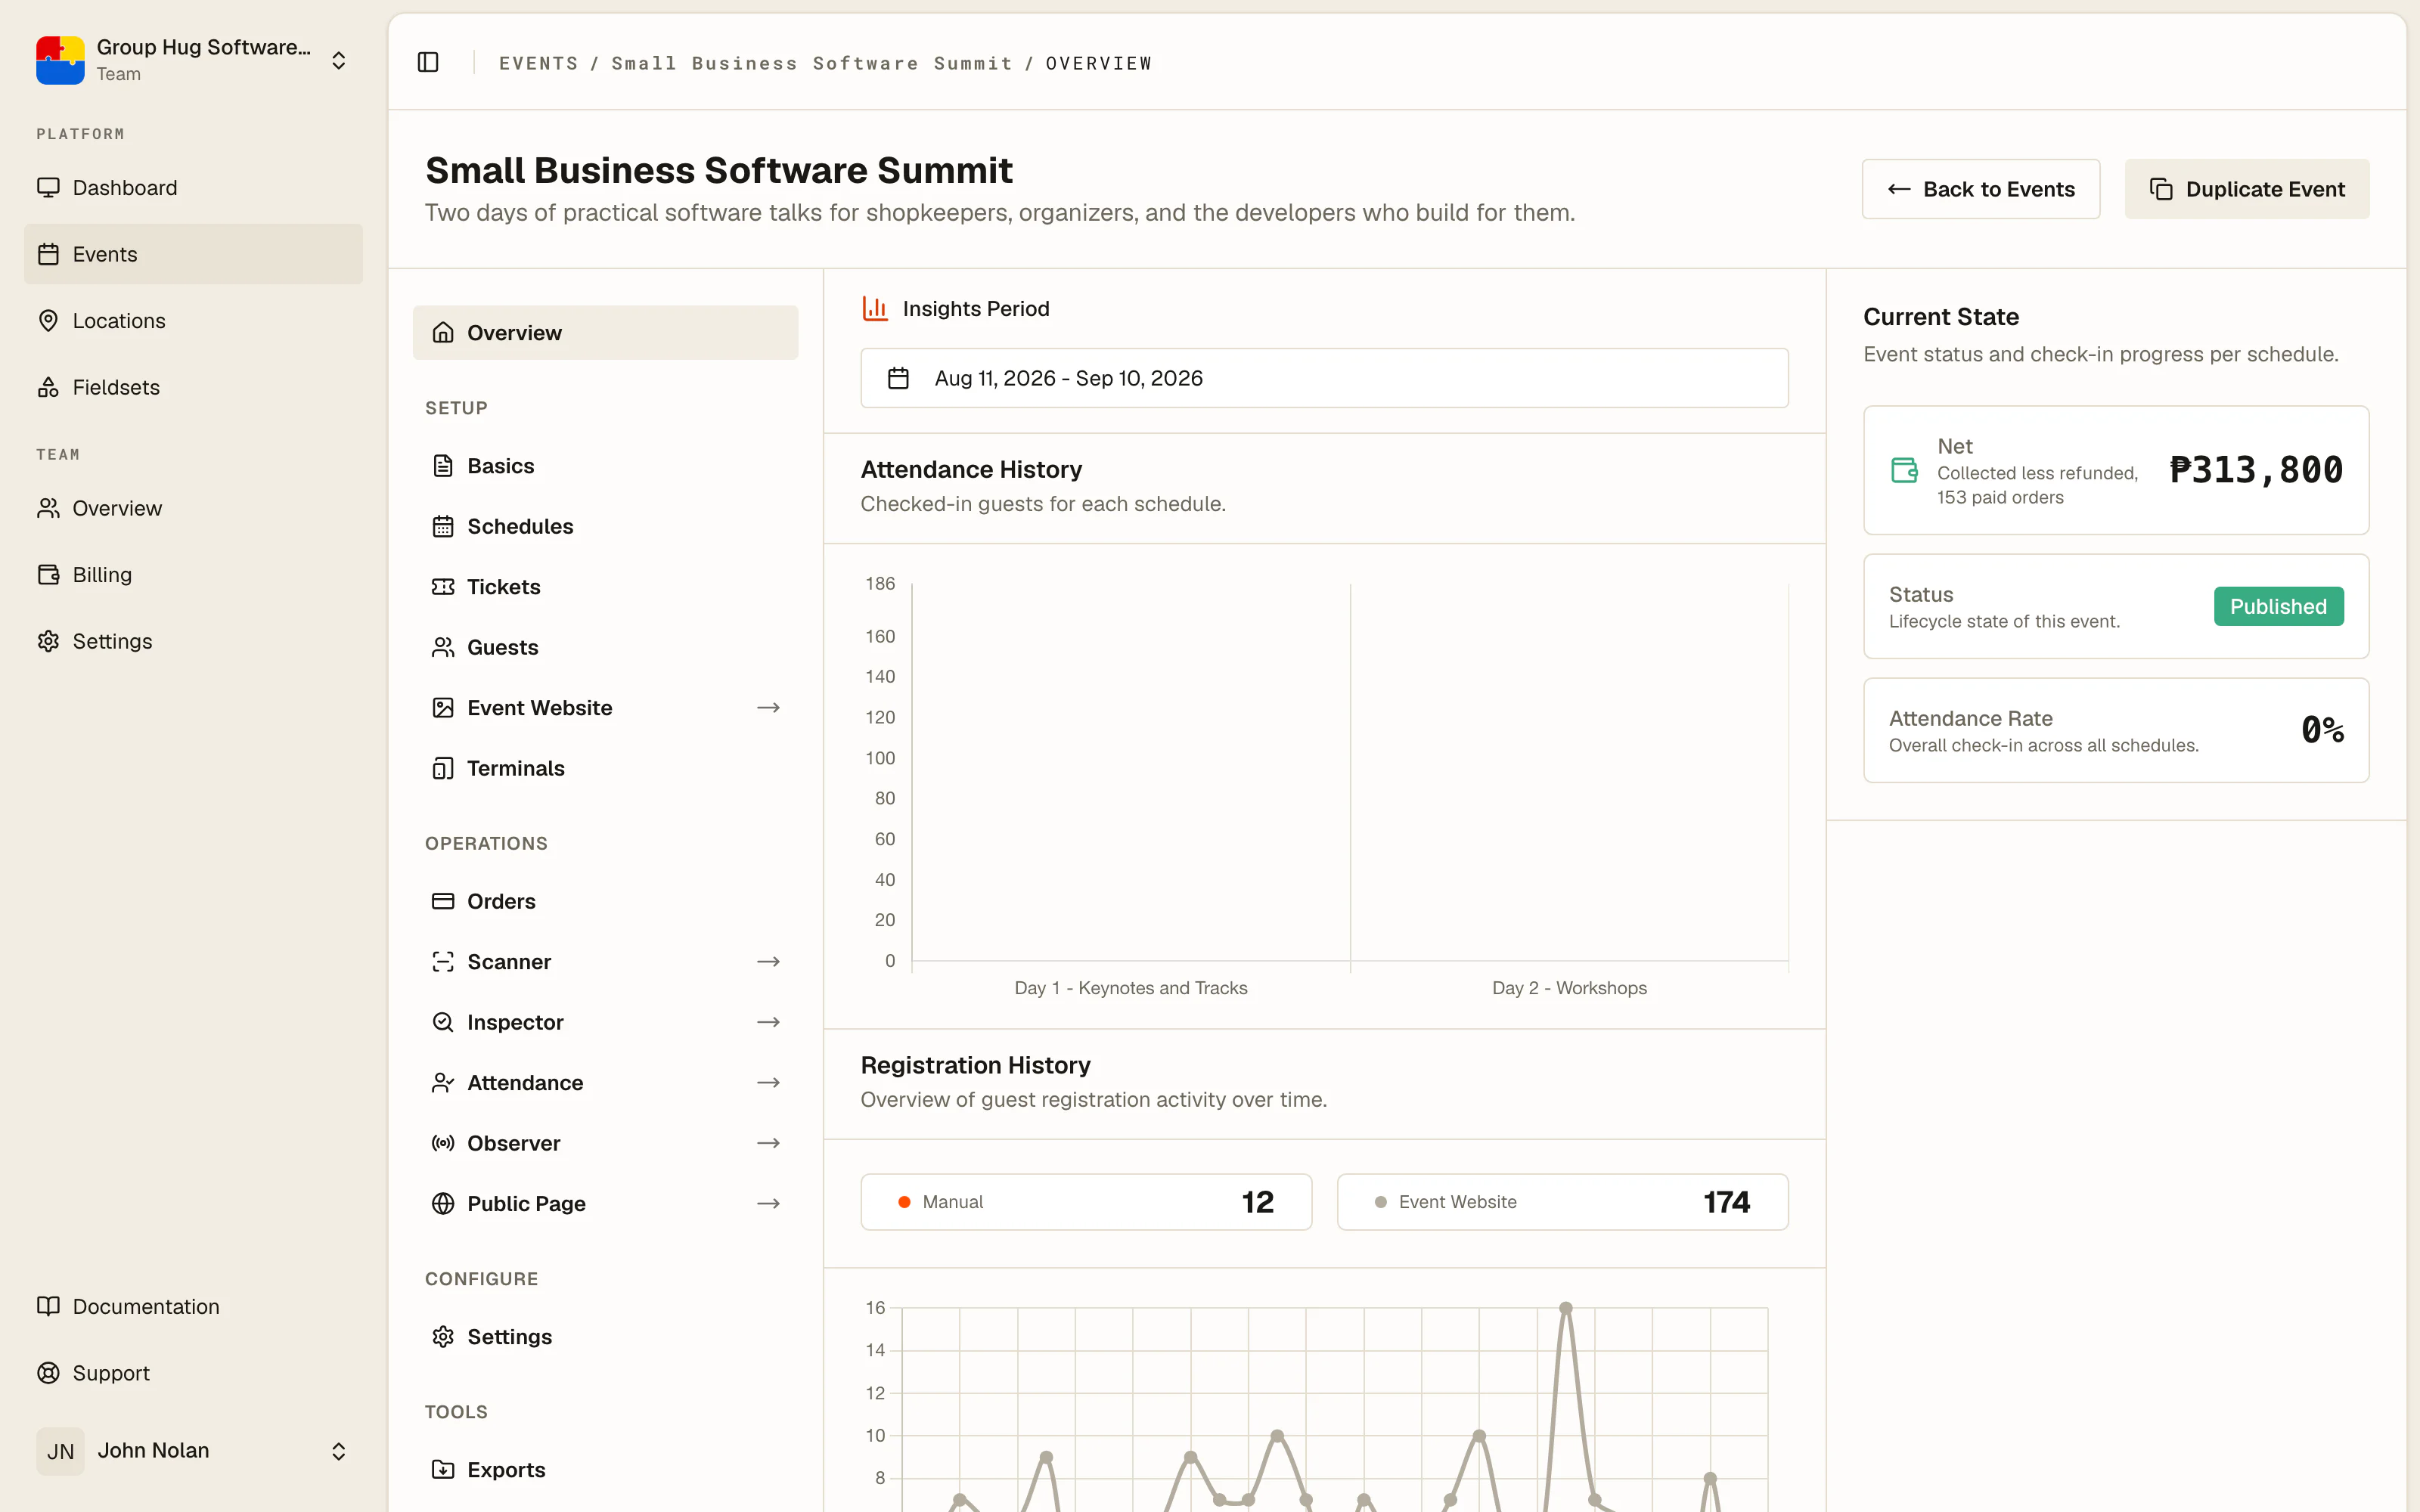
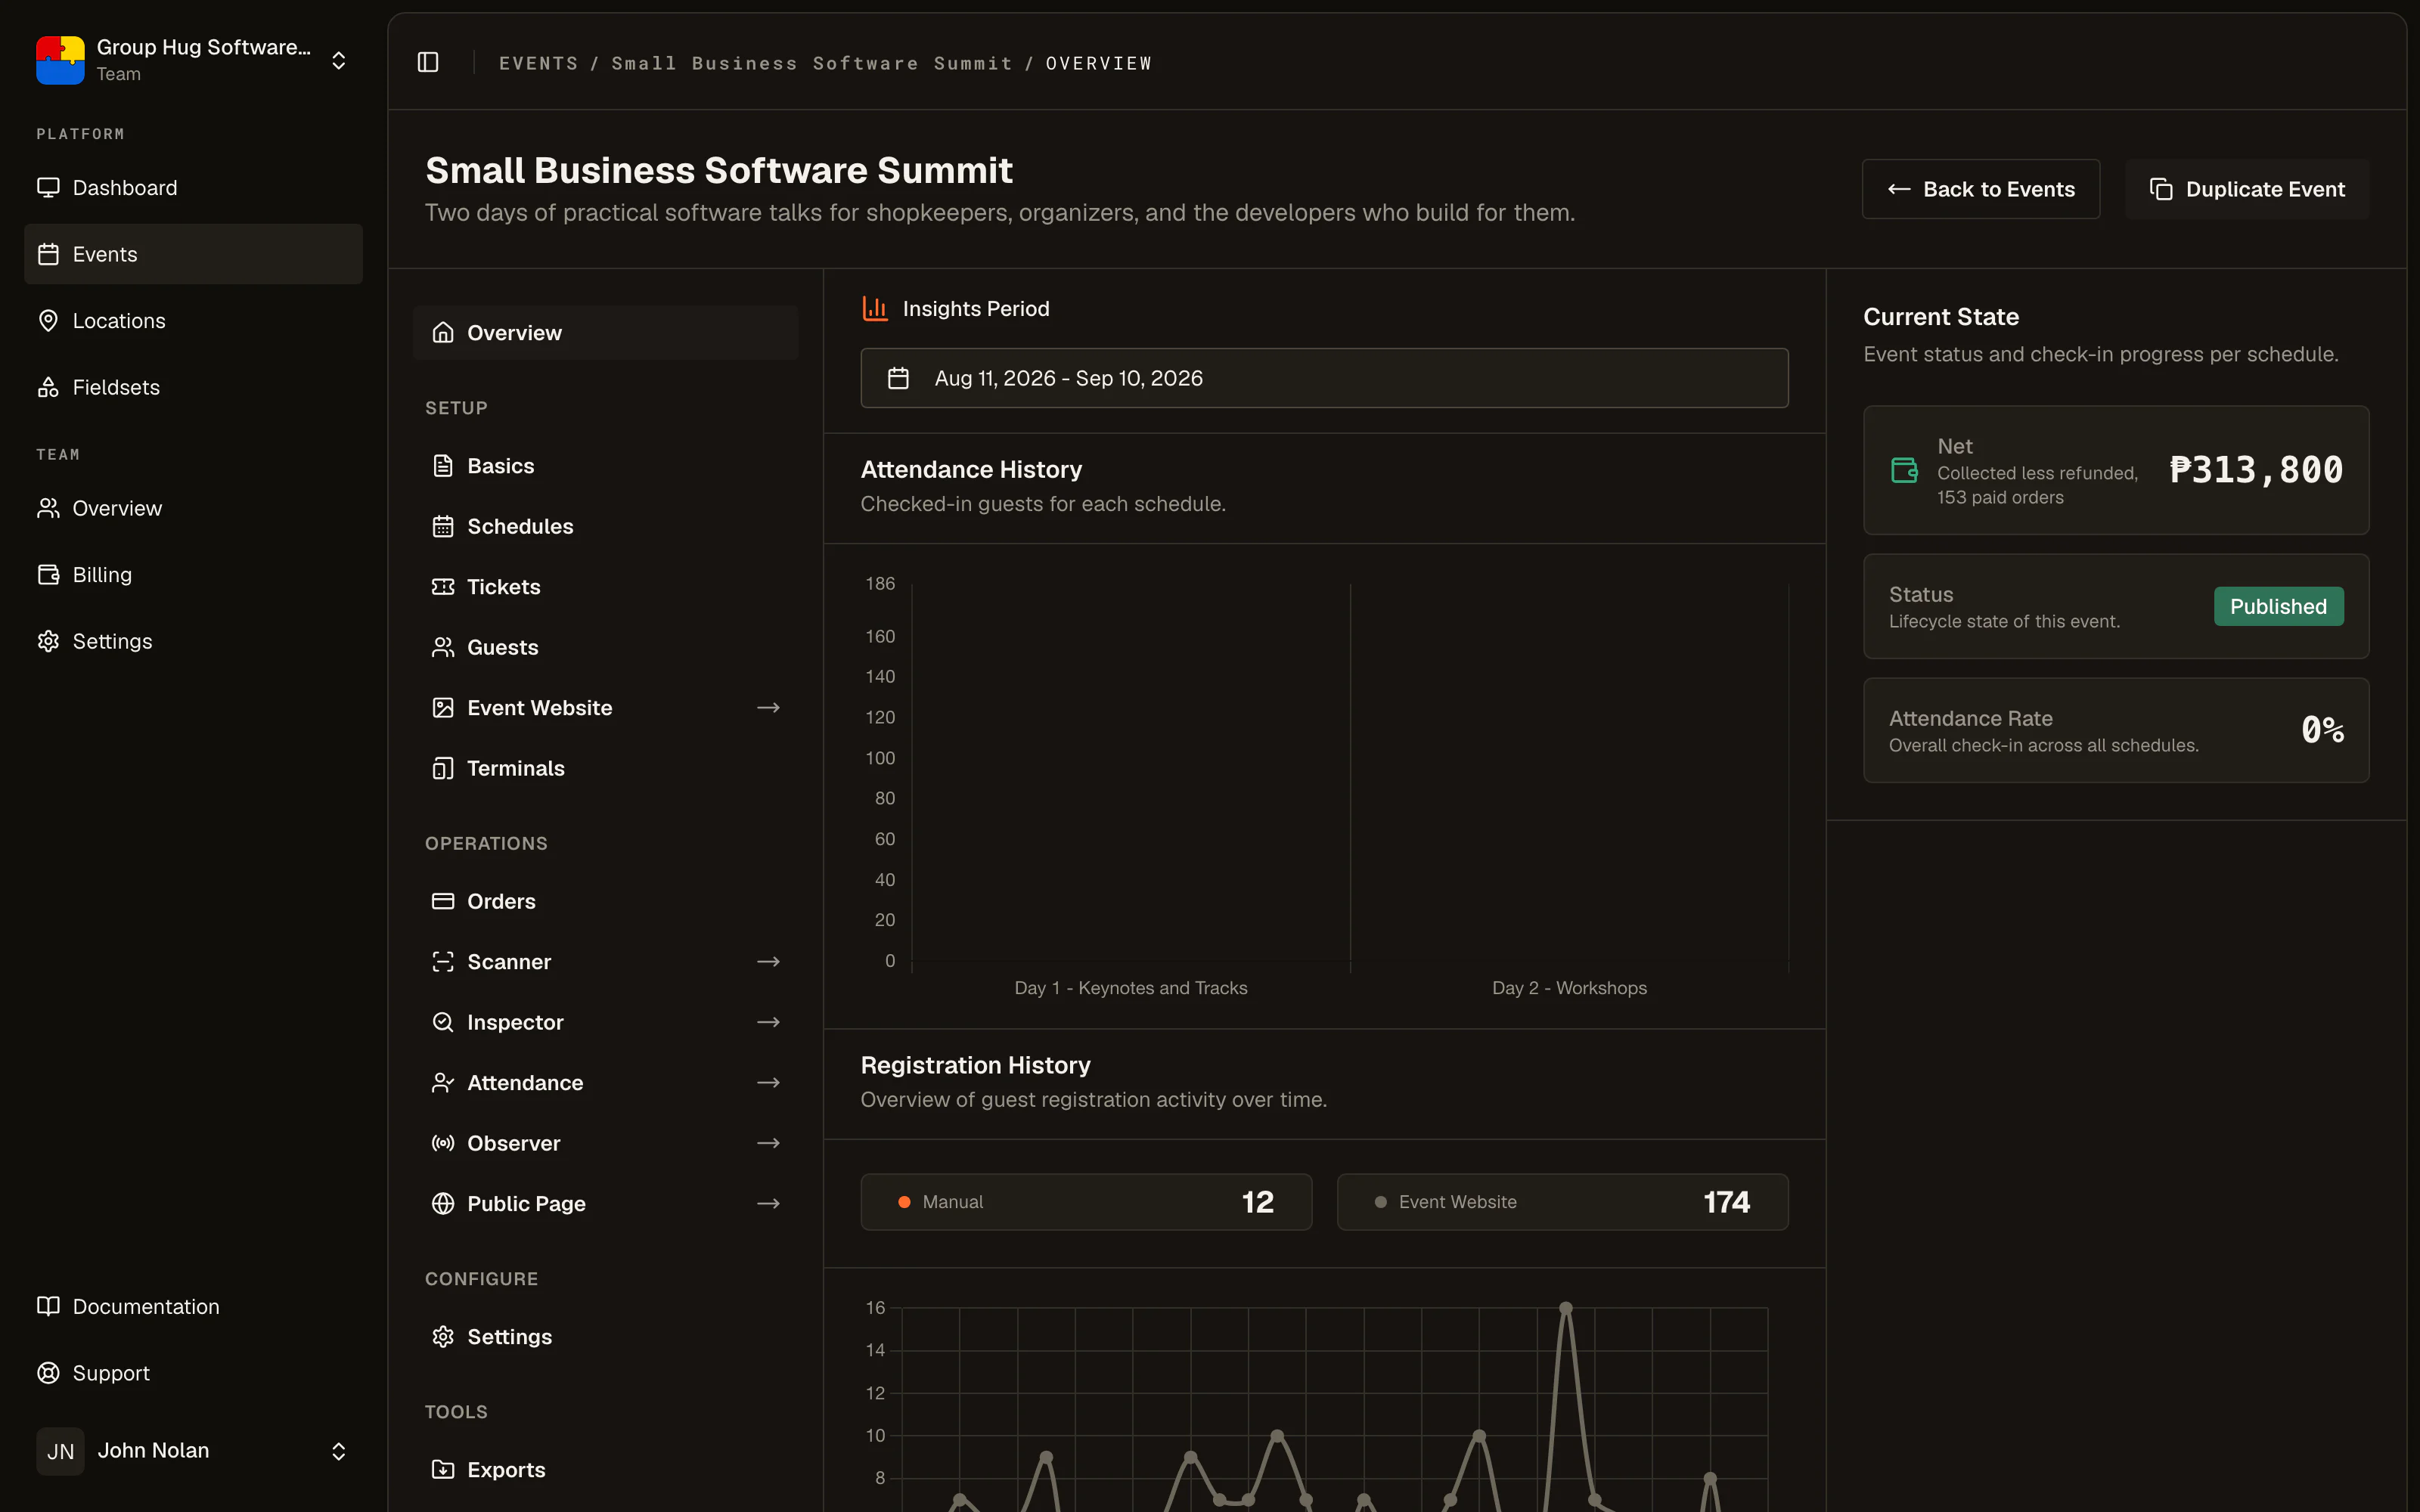
Once you publish, or once one of the event's sessions is under way, the Overview stops being a checklist and becomes the charts you will watch on the day.
The next steps work down that list.
Step 3. Add a schedule and a ticket tier
A schedule is a session people check in to. A single-day event has one. A conference with a workshop day and a main day has two. Give it a name, a location, a start and end date, and start and end times.
A ticket tier is what a guest holds. It carries a price, an optional capacity limit, and the schedules it admits you to. Set the price to 0 for a free tier. Leave stock empty and the tier sells until you stop it.
If you created your event from a template, both of these already exist. Open them, rename them, and change the dates.
Step 4. Add a terminal
Open Terminals and add one. Call it what the people working it will call it: Main Door, Gate B, Registration Desk. Every scan records which terminal it came through, so at the end of the night you can see which door was busiest and where a problem scan happened.
Step 5. Get a ticket into your own hands
You do not need a real guest to test this. Open Guests, choose Add Guest, and put yourself on the list with your own email address and any active ticket tier.
From the guest's row menu, choose Send PDF. Check your inbox. You now have a real QR ticket, generated the same way every attendee's will be.
Step 6. Scan it
Open Scanner from the Operations group in the event sidebar. It opens as a full-screen page, because at the door you want it and nothing else on the screen.
Pick your terminal and your schedule, allow the camera when the browser asks, and point the phone at the QR code on your screen or on paper.
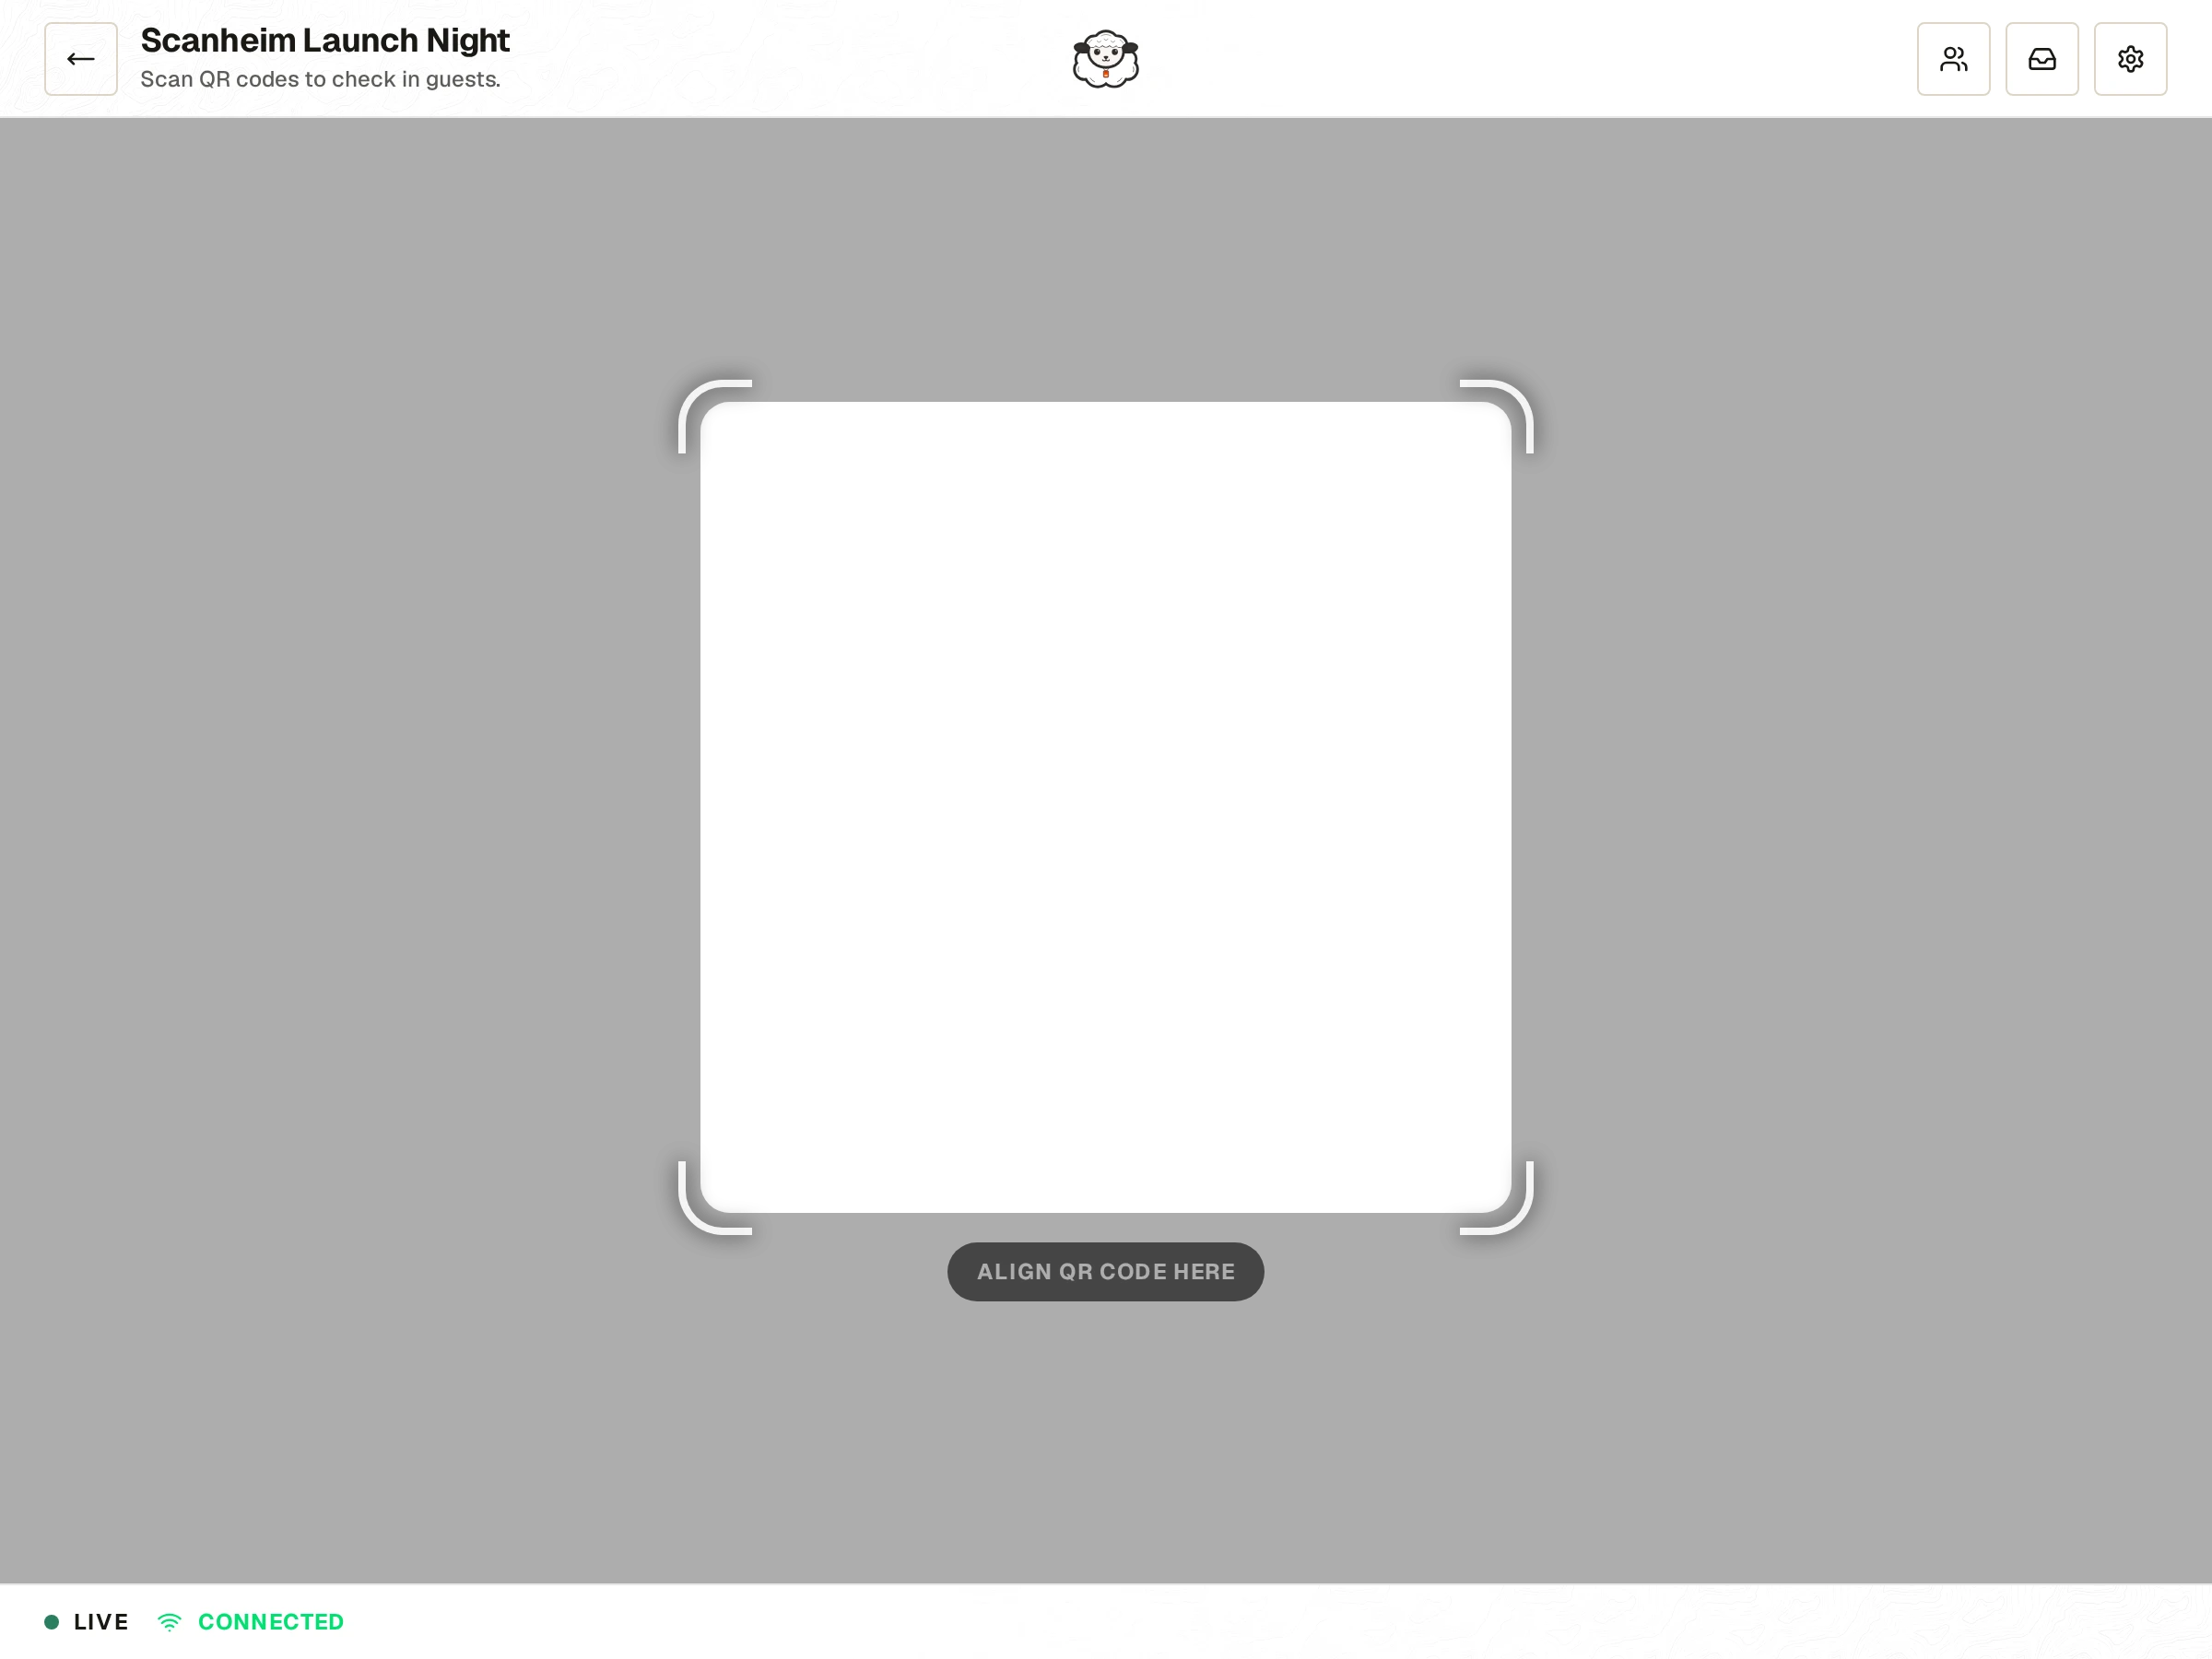
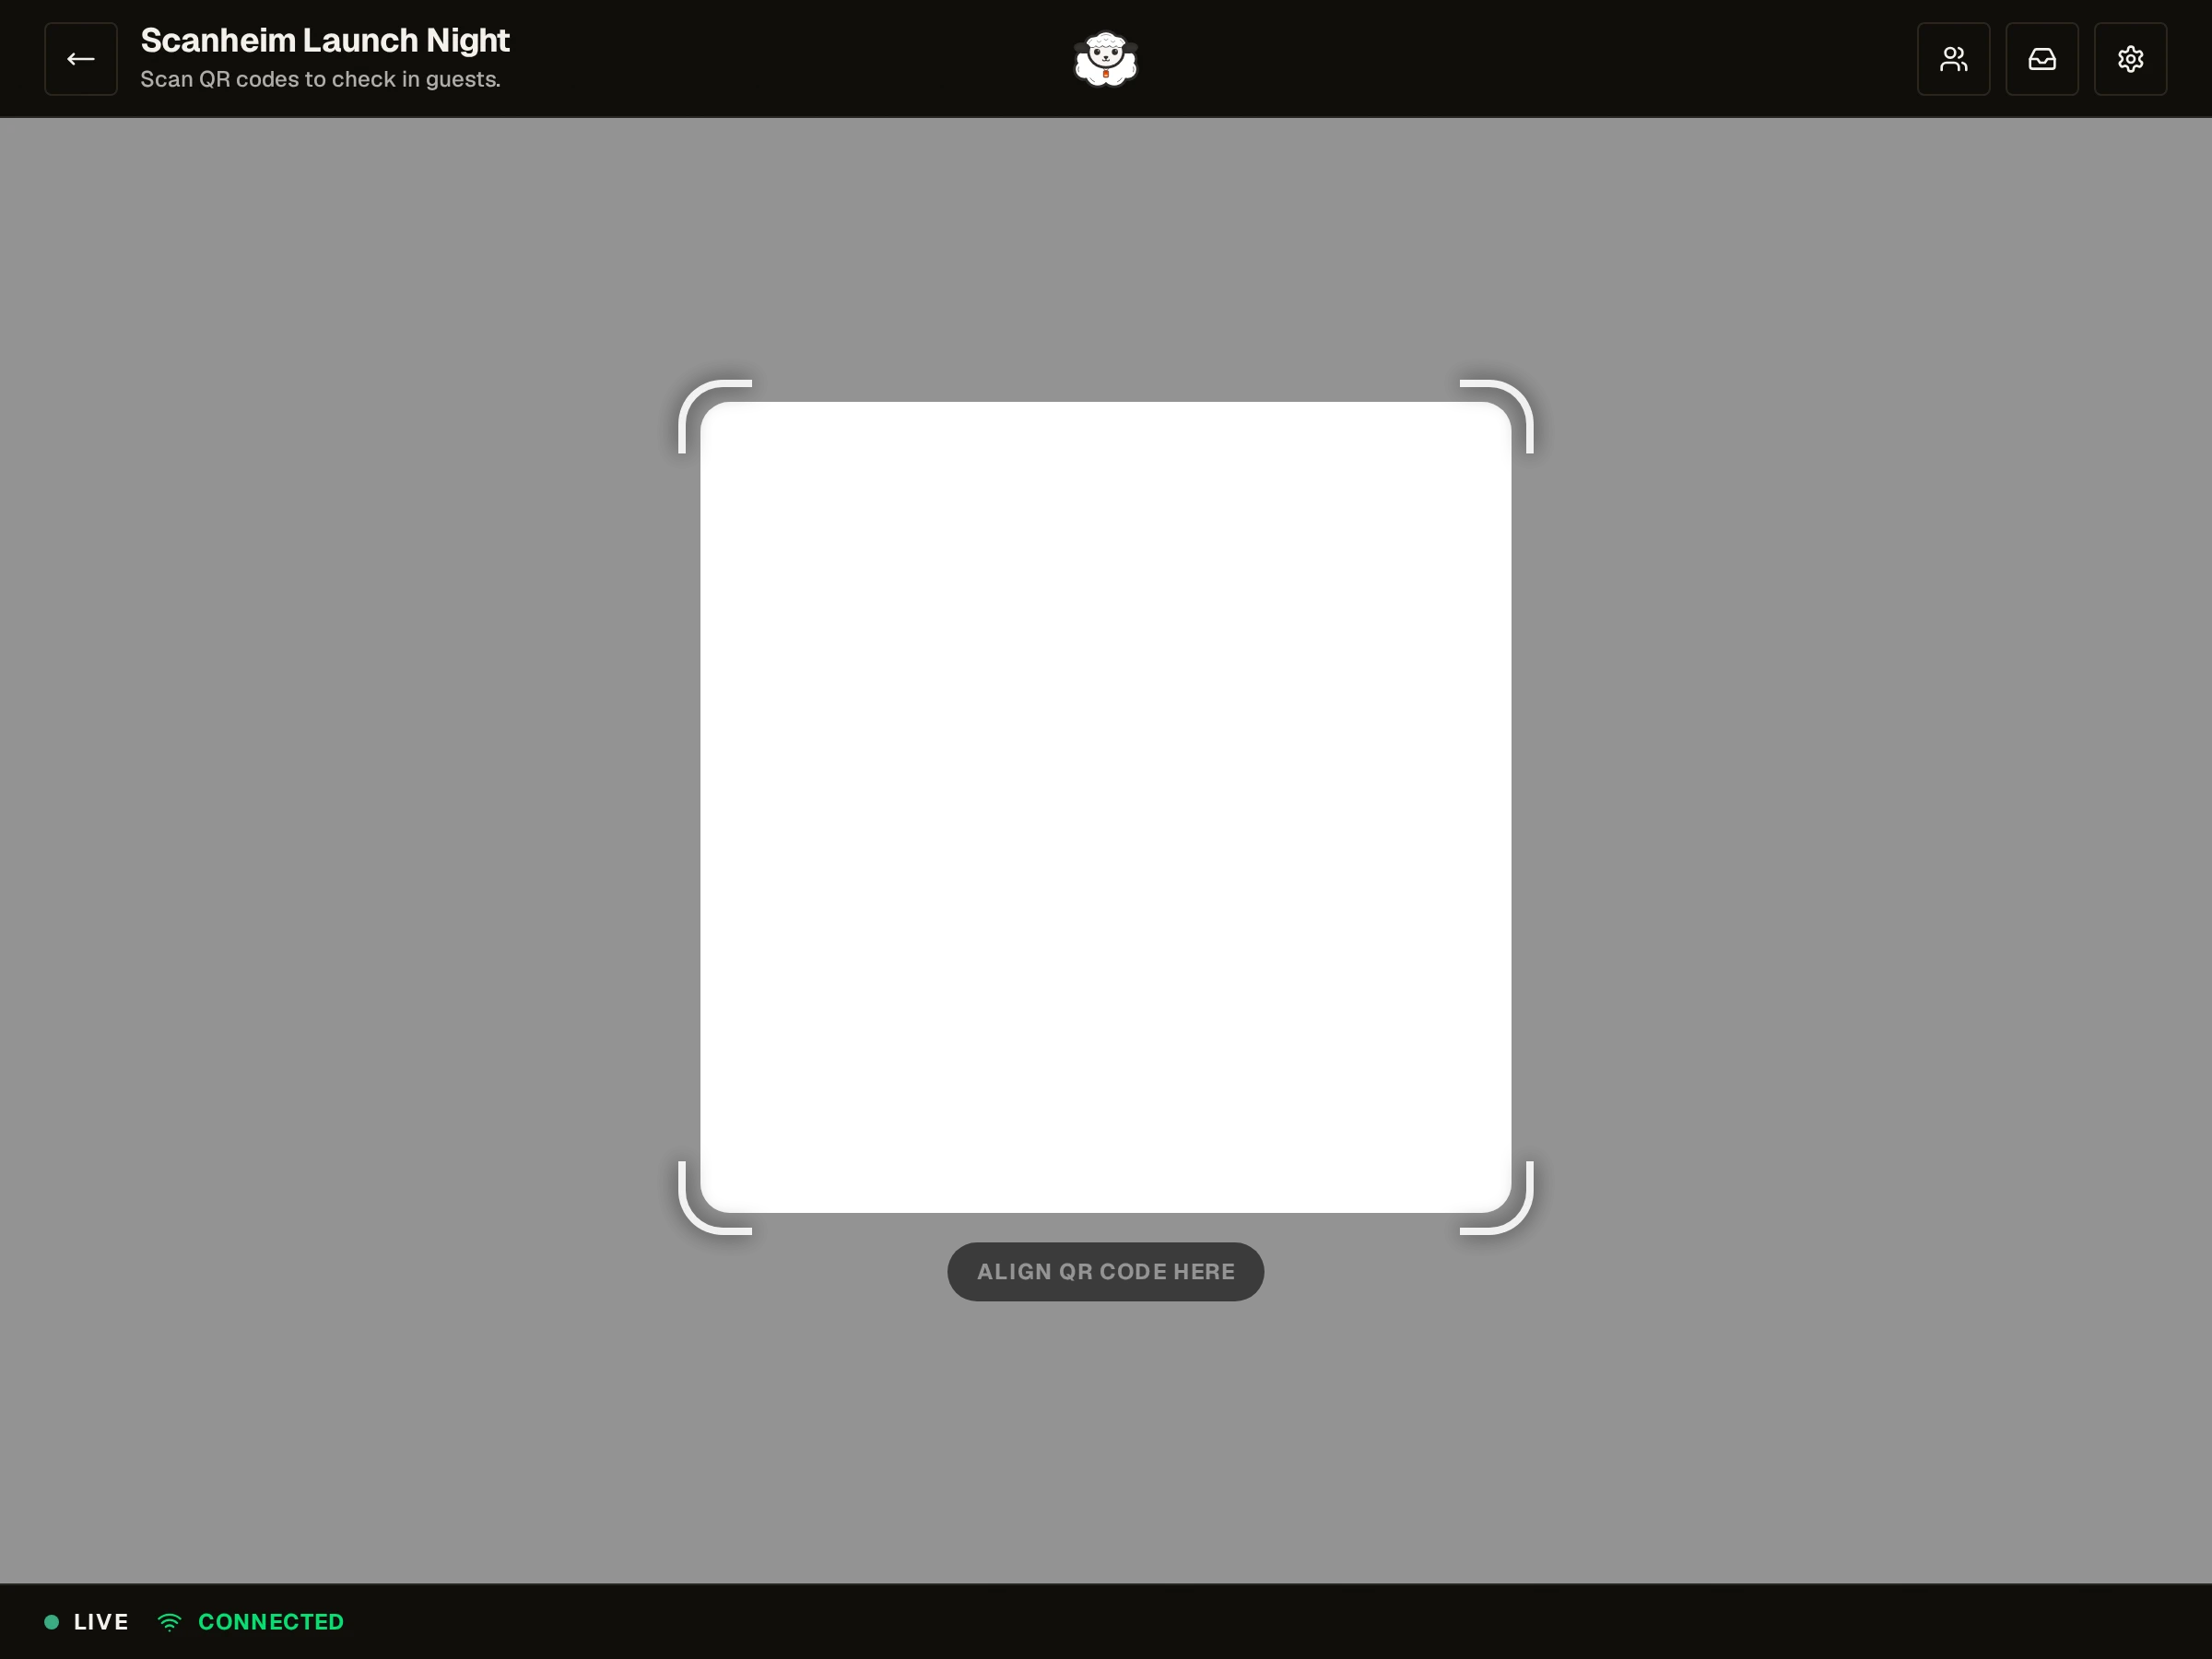
A green result means the guest is in and an attendance record now exists against that terminal and that schedule. Scan the same code again and you get told they are already checked in, which is exactly what you want a second scan to do.
Step 7. Open registration and publish
When you are ready for the public, open Settings. Turn on Registration if people should sign up themselves (new events start with it off), then press Publish Event under Event Status. Your event page is now live at its web address, and the checklist is complete.
What to do next
You have a working event. From here:
- Read how opening and closing registration works before you share the link.
- Import a guest list if you already have one in a spreadsheet.
- Set up your event website so the link you share looks like your event.
- Invite your crew and give them the roles they need for event day.
Last reviewed October 7, 2026