Sell your first ticket.
The paid path: activate, collect, price, publish, confirm.
The quickstart deliberately takes the free path, because the fastest way to see this platform work is an event that charges nobody anything. This page is the other route: the same event, with a price on it.
It assumes you have already built an event and a ticket tier. If you have not, do the quickstart first and come back to it.
Step 1. Activate payments
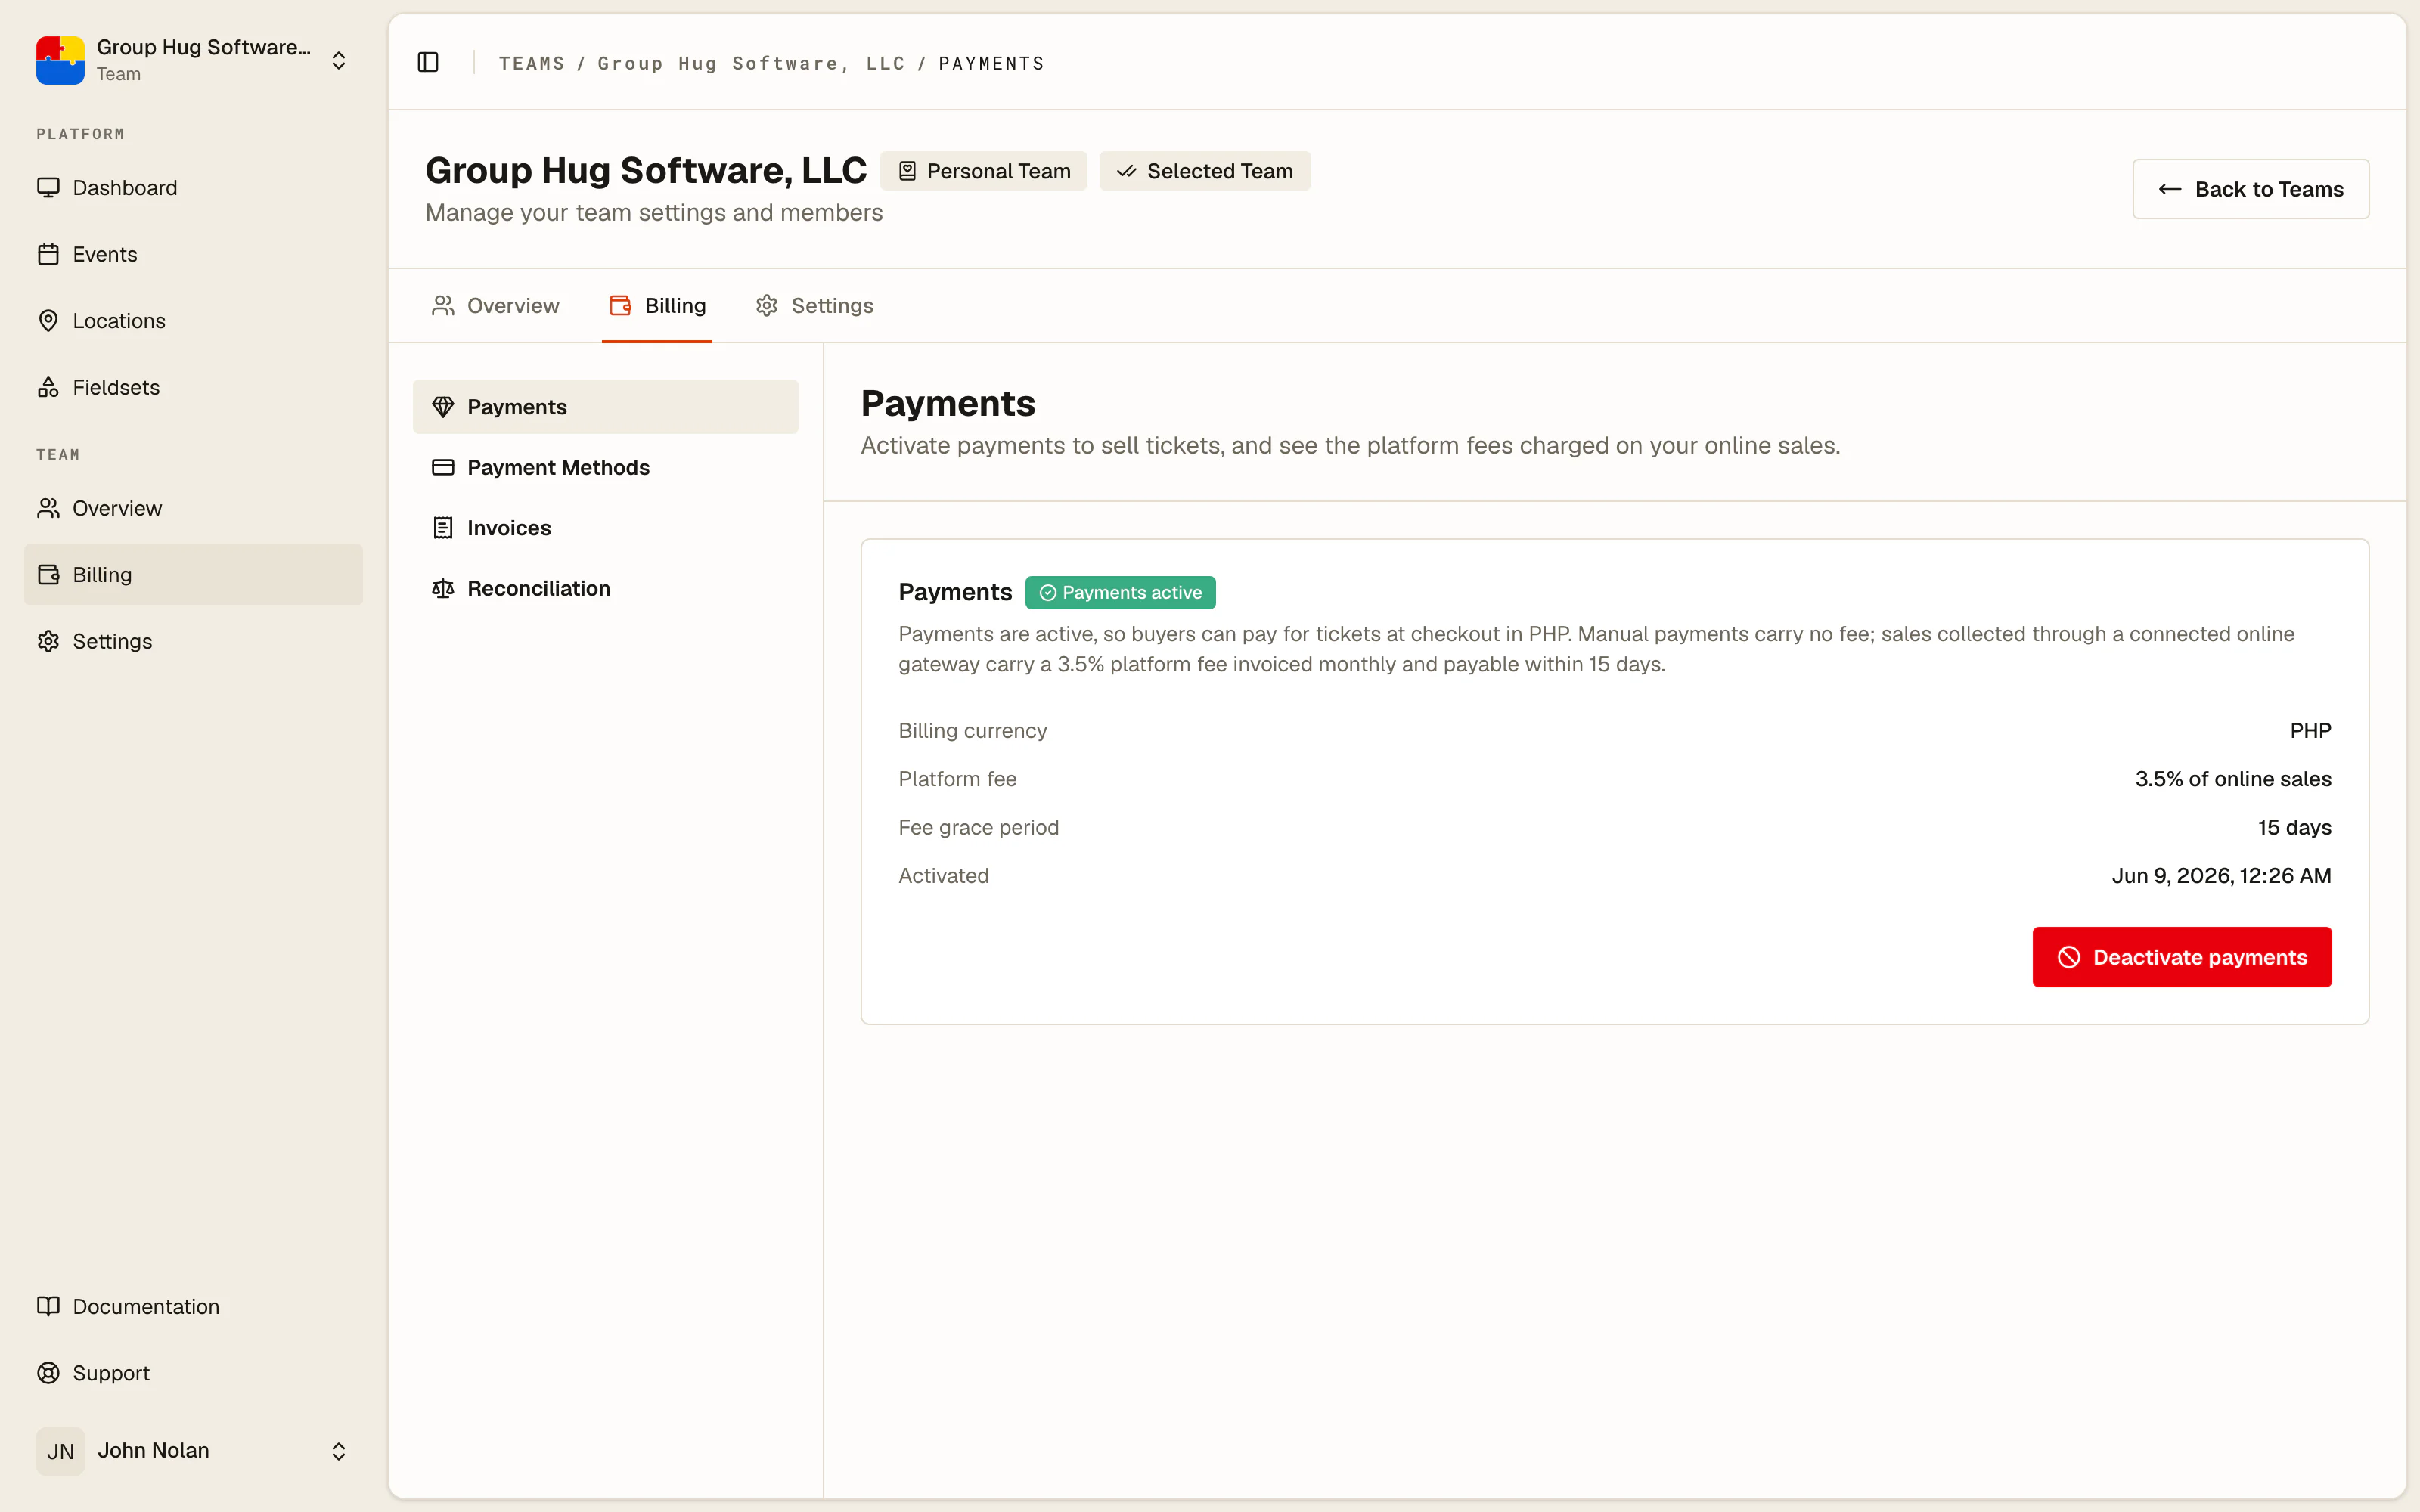
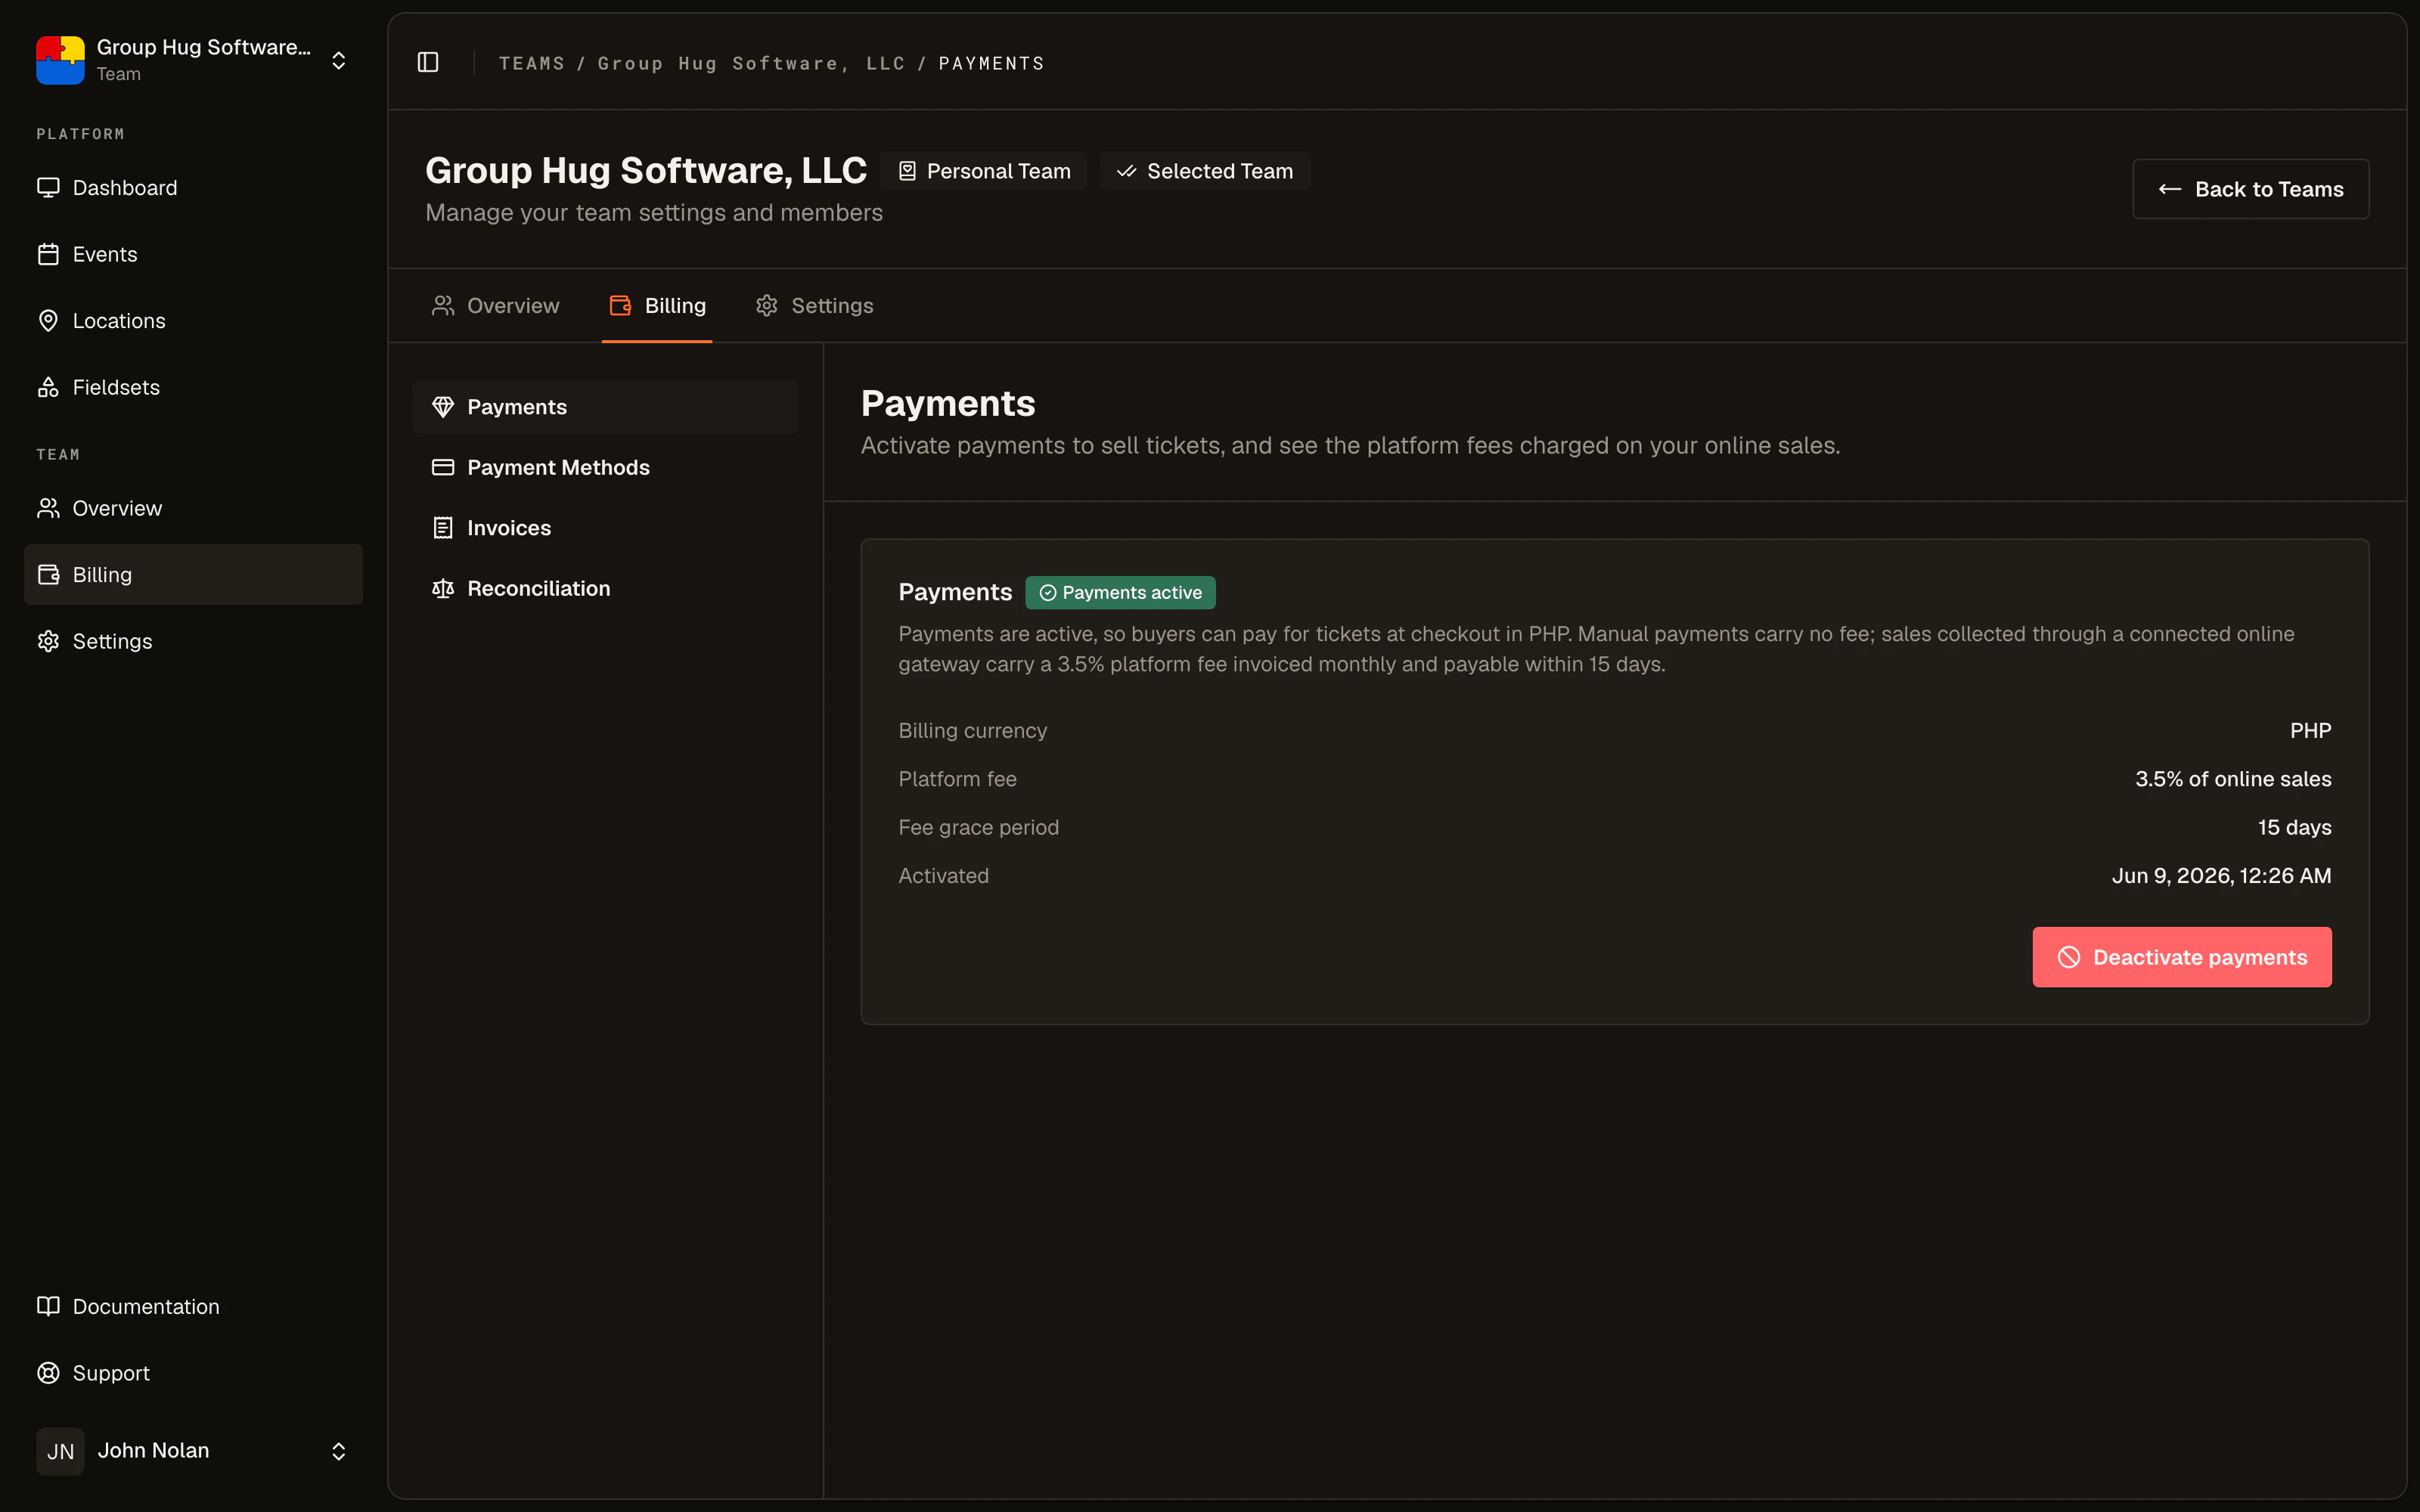
Open Team settings > Billing. The first page of that section is Payments, and it is where a team turns money on.
Activating costs nothing. What it settles, permanently, is the currency your team bills and prices in, so choose the one you actually collect in. Everything else on this page follows from having a currency to write amounts in. See activating payments for what it unlocks and what stays available without it.
You need to be a team administrator or the team owner to do this.
Step 2. Choose how you will collect
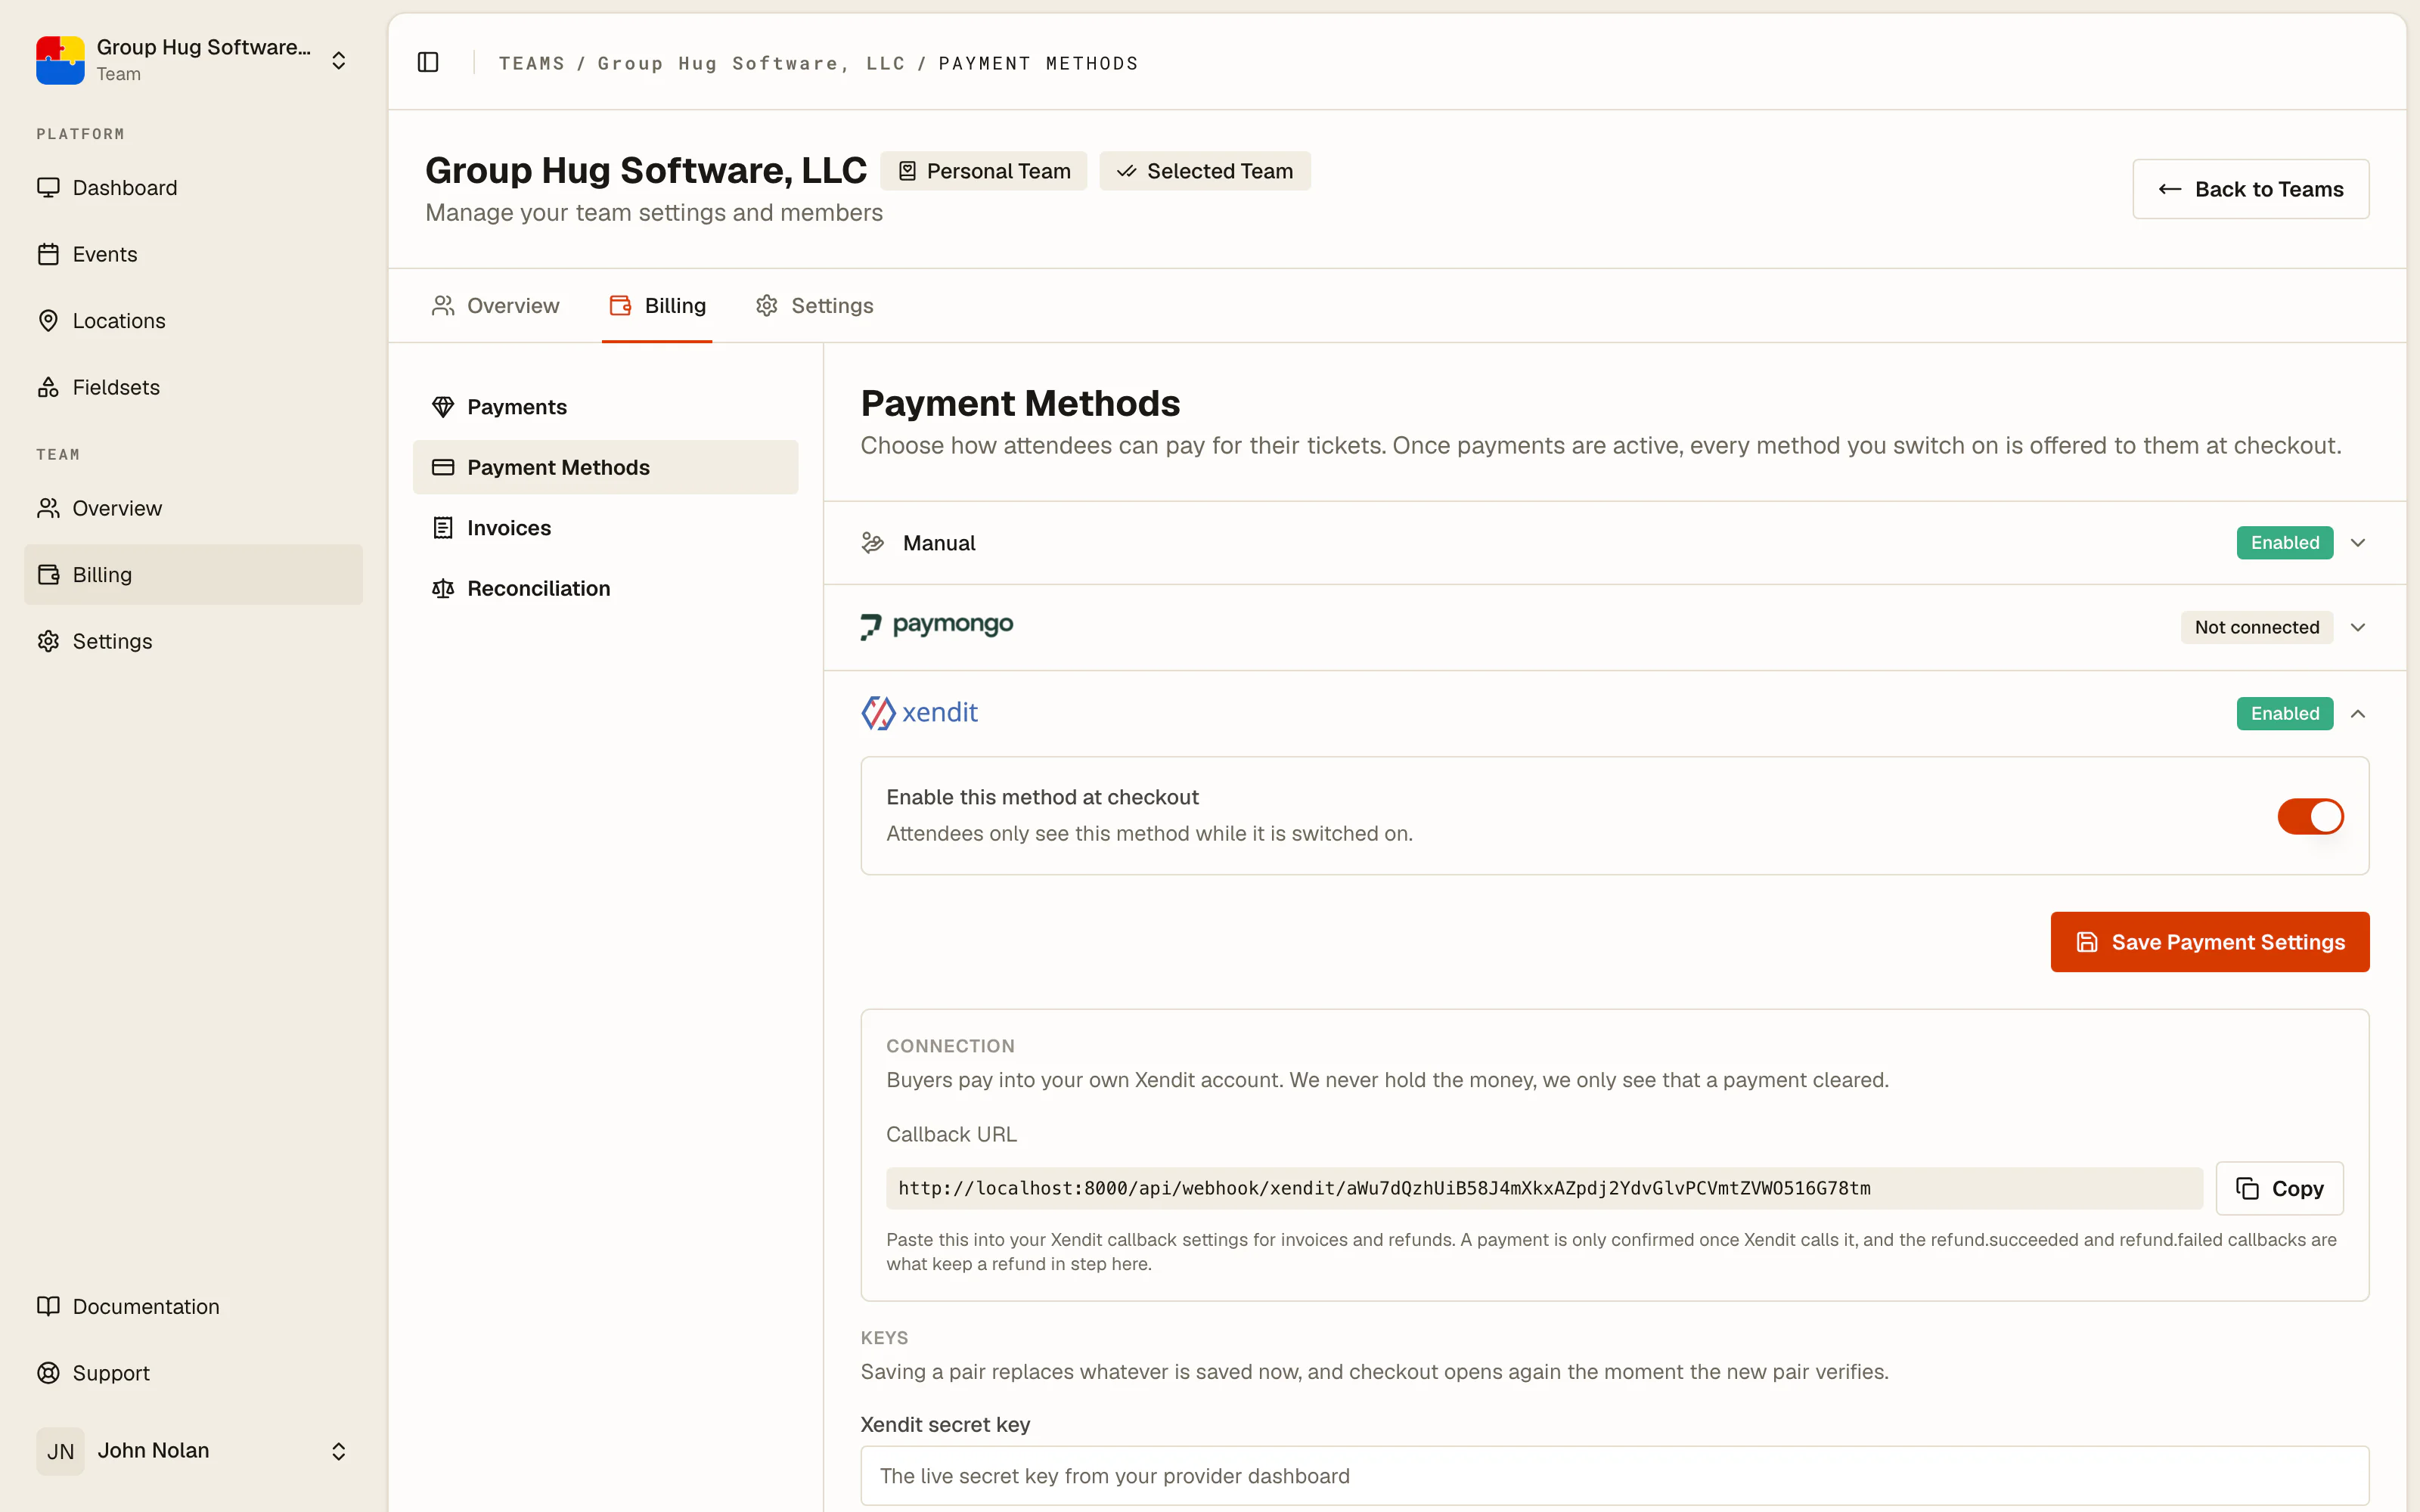
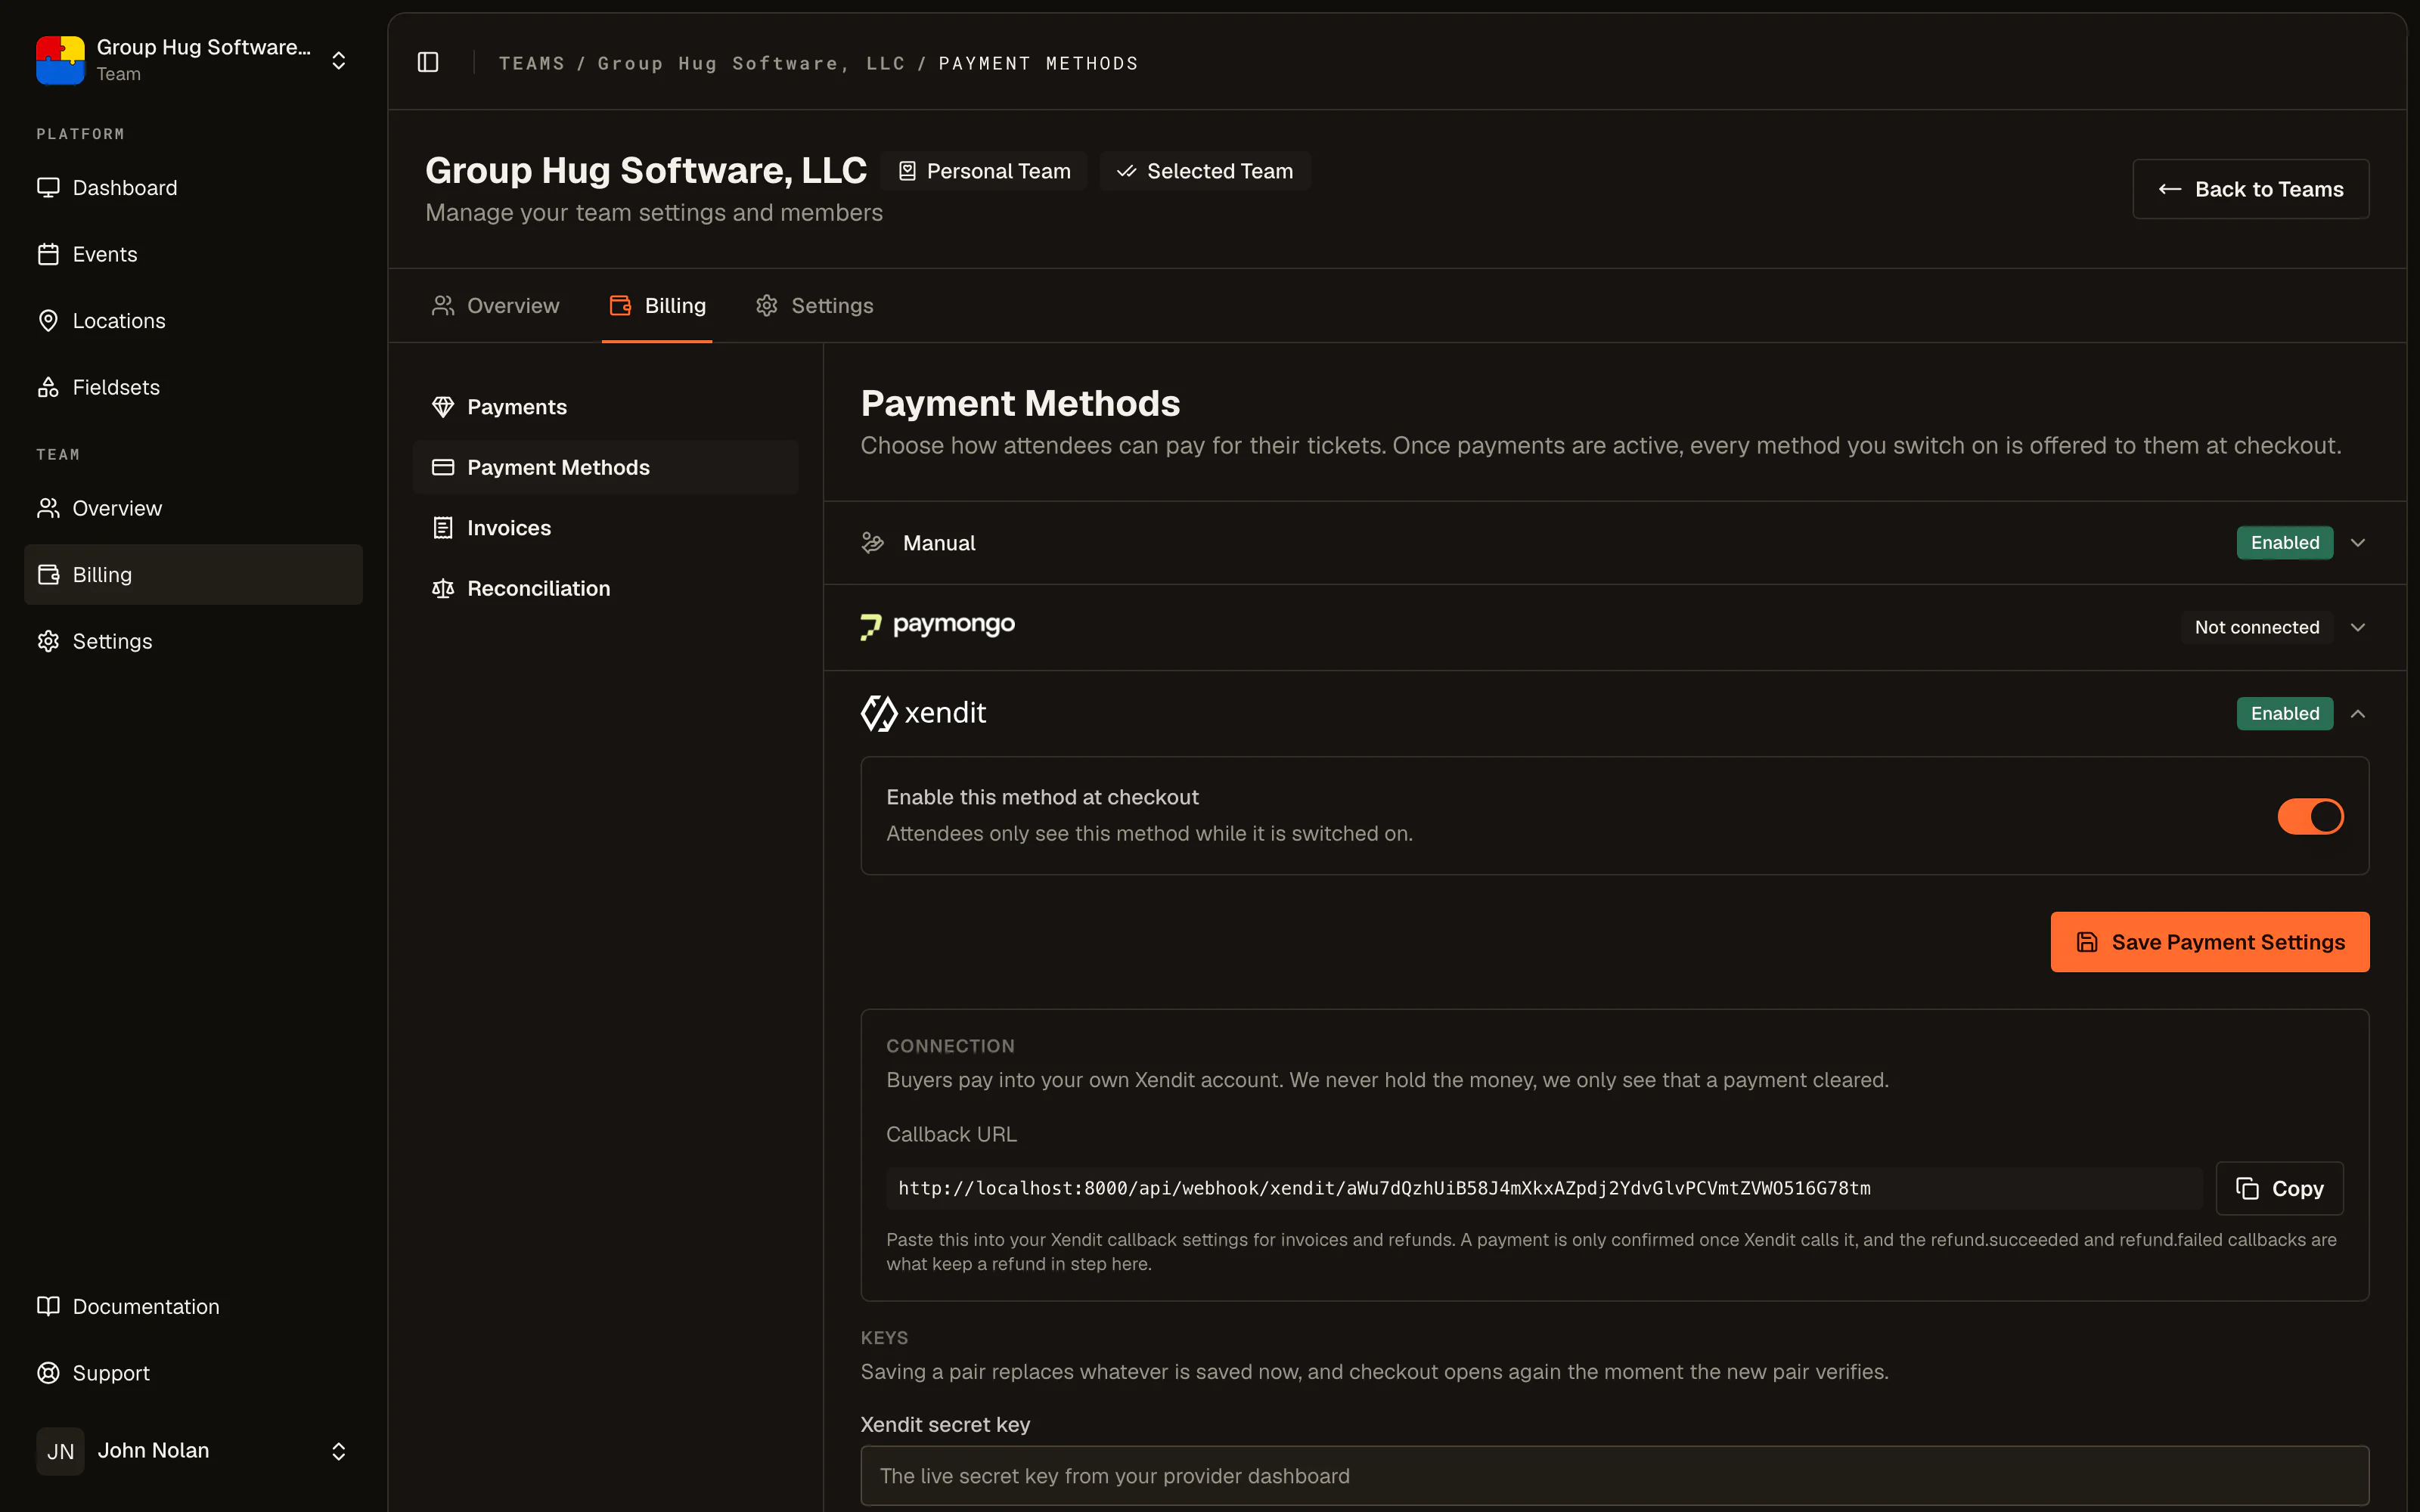
Under Billing > Payment Methods you have two answers, and you can use both.
Publish your bank or wallet details and buyers pay you directly, then send you proof for you to confirm. It takes no account anywhere, carries no fee, and is the fastest thing to set up.
Or connect your own Xendit, PayMongo or Stripe account and buyers pay by card or e-wallet at checkout without leaving the flow. That takes a key from your provider's dashboard and the callback URL pasted back into it, and there is a Test Connection button to prove it works before an attendee does. See payment methods.
Step 3. Price a tier
Back on the event, open Tickets and edit the tier you want to sell.
Price is entered in minor units, so 1,500.00 is 150000. The currency field is read-only and shows the one you chose in step one. Save it, and that is a paid tier. See ticket tiers.
Step 4. Publish and share
Open the event's Settings, turn on Registration (new events start with it off), press Publish Event under Event Status, and share the link. Nothing about a paid event changes how the public page or the registration form behaves; the only difference is what happens after the form is submitted.
Step 5. Watch the first order arrive
Open Orders on the event. Every registration creates one, and the status says where the money stands.
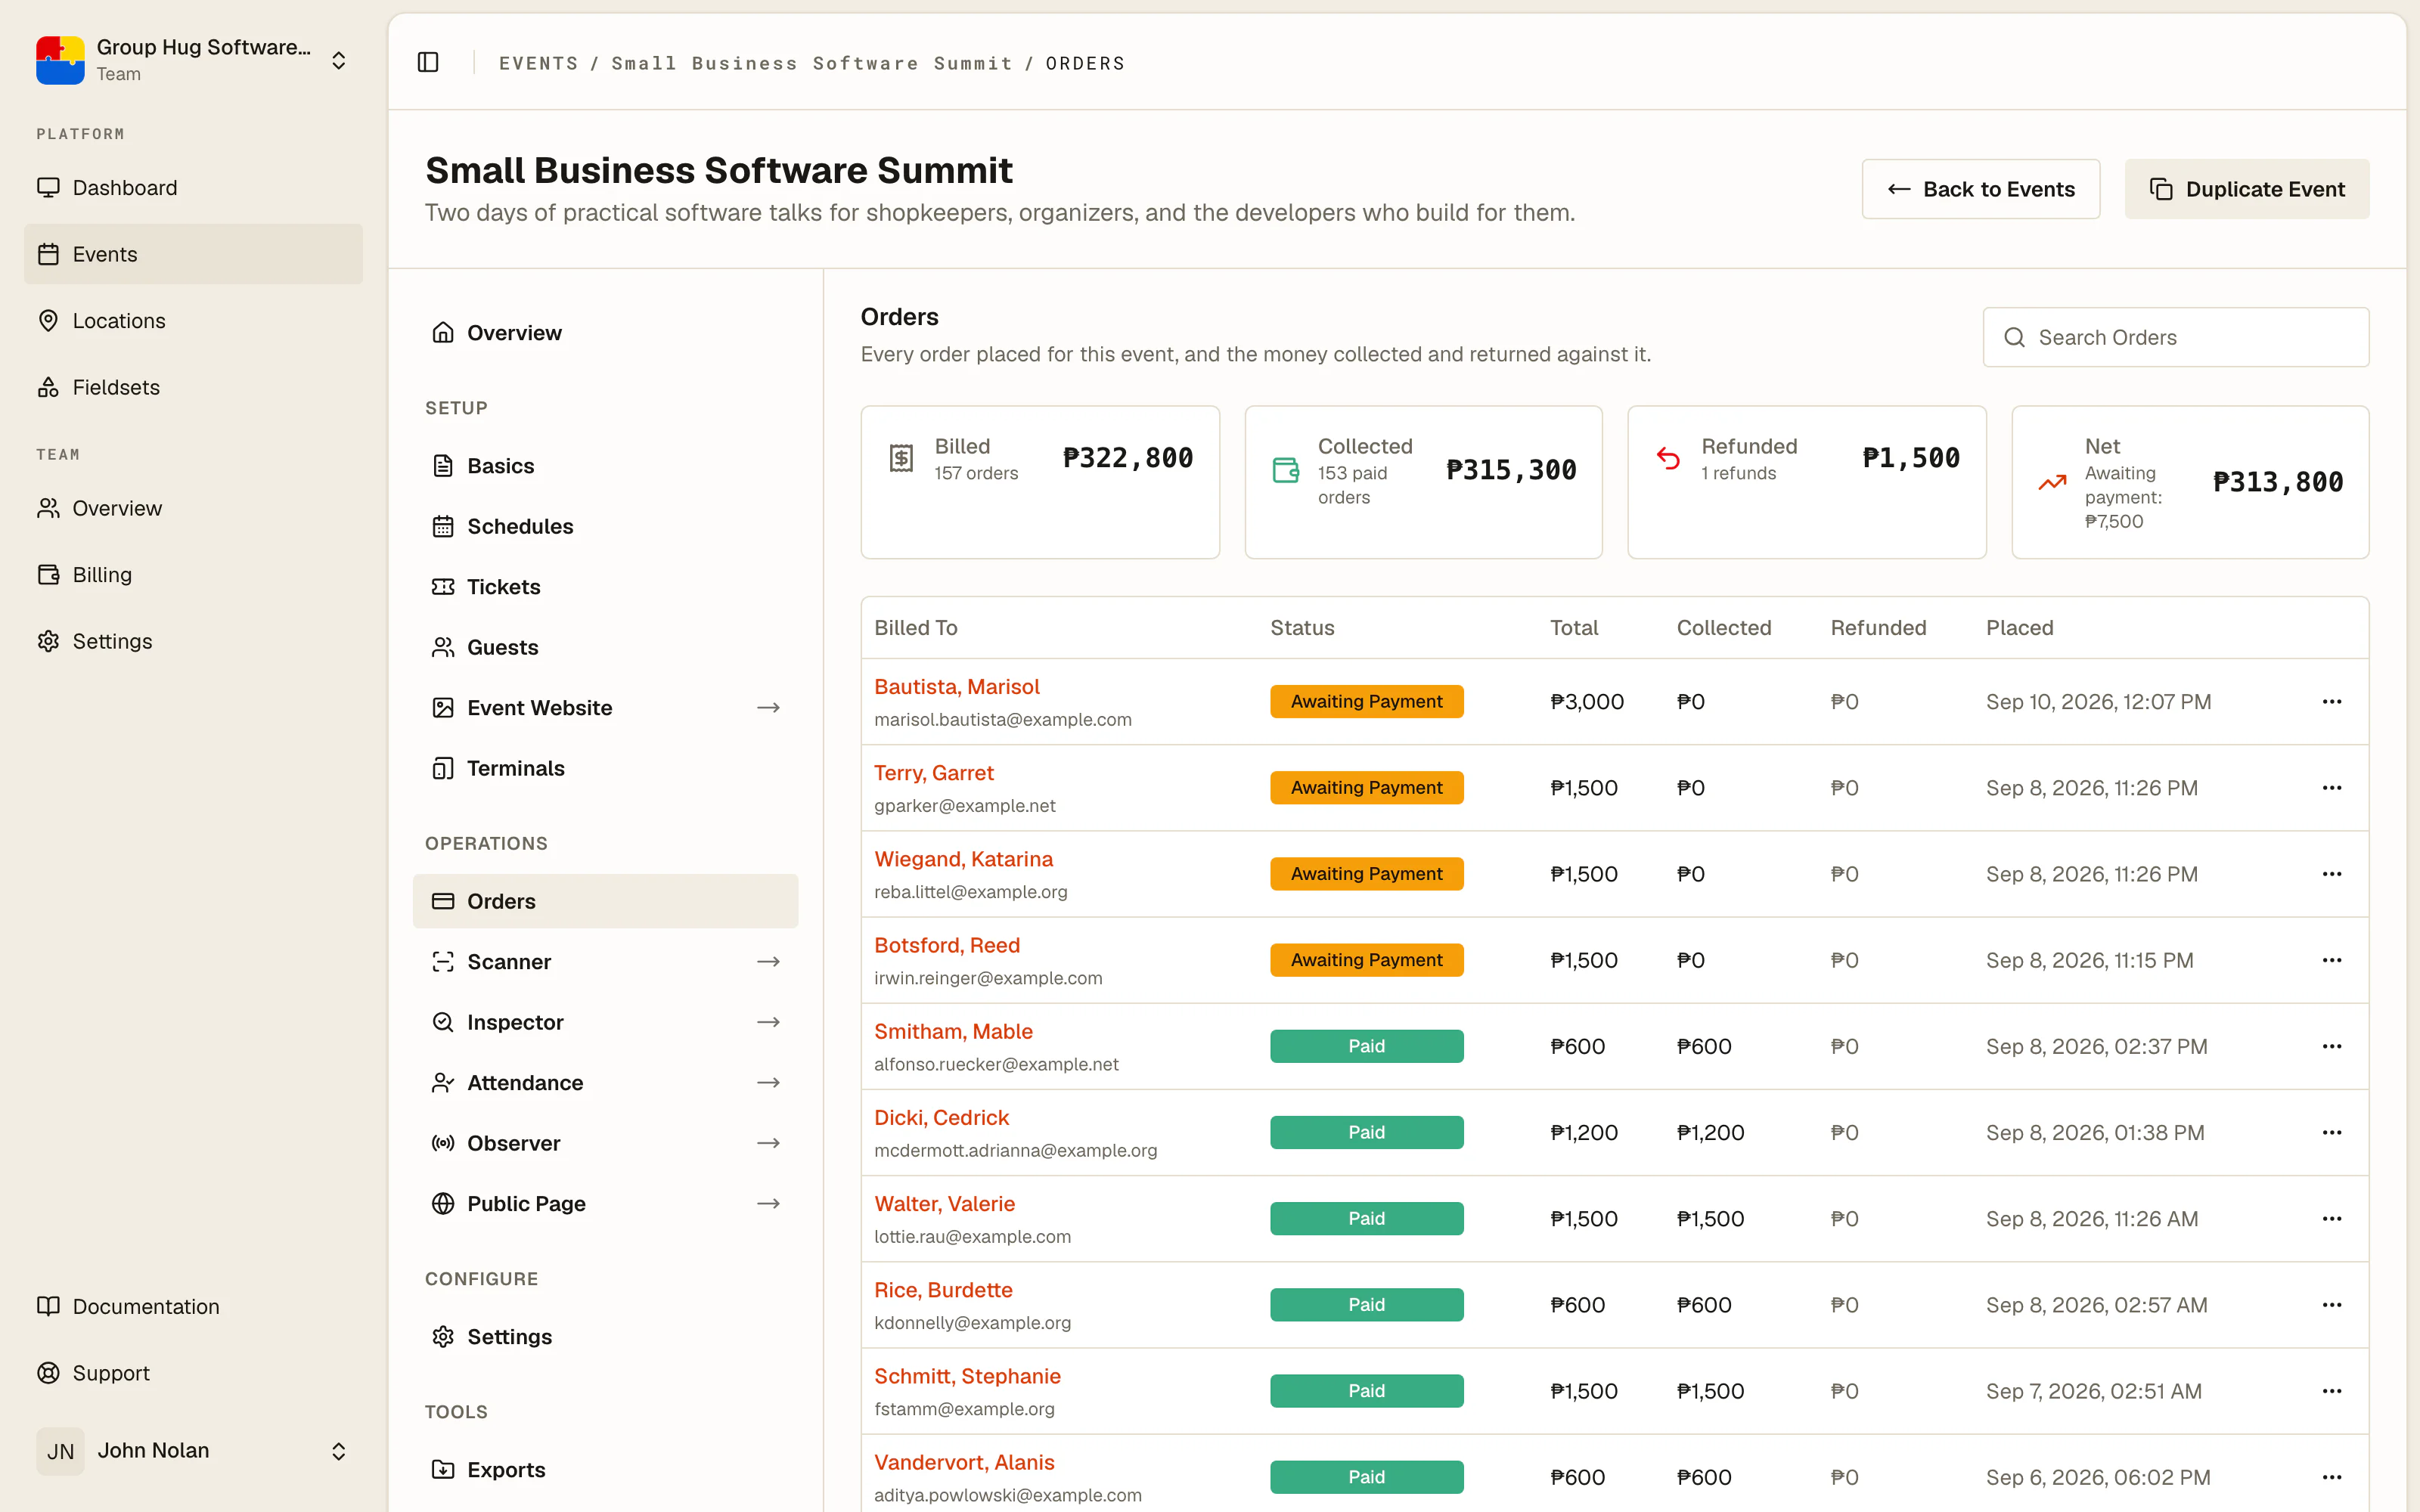
A card payment through a connected gateway settles by itself: the order goes to paid and the QR tickets go out without you touching anything.
A bank transfer sits waiting. Open the order, check the proof of payment the buyer sent, and press Confirm. That settles the order and sends the tickets. If the money never arrived, Reject closes the order and tells the buyer why.
Step 6. Know what you will be billed
Nothing yet. We charge 3.5% of tickets sold through a connected gateway, and nothing on anything else, and even that is not owed until the sale has gone fifteen days without a refund.
Billing > Invoices has an Upcoming row showing what the next monthly sweep will bill you. That invoice arrives by email with fifteen days to pay, and there is no card on file. See invoices and fees.
Where to go next
- Paid tickets and payments, for the whole flow end to end
- Orders, for everything you can do to one
- Refunds, before you need one in a hurry
Last reviewed October 7, 2026